


One promo code per order. Offers cannot be combined.
promo code isn't valid for the items in your cart. Please enter a valid promo code.
Couldn't load pickup availability
Pay with ease and secure
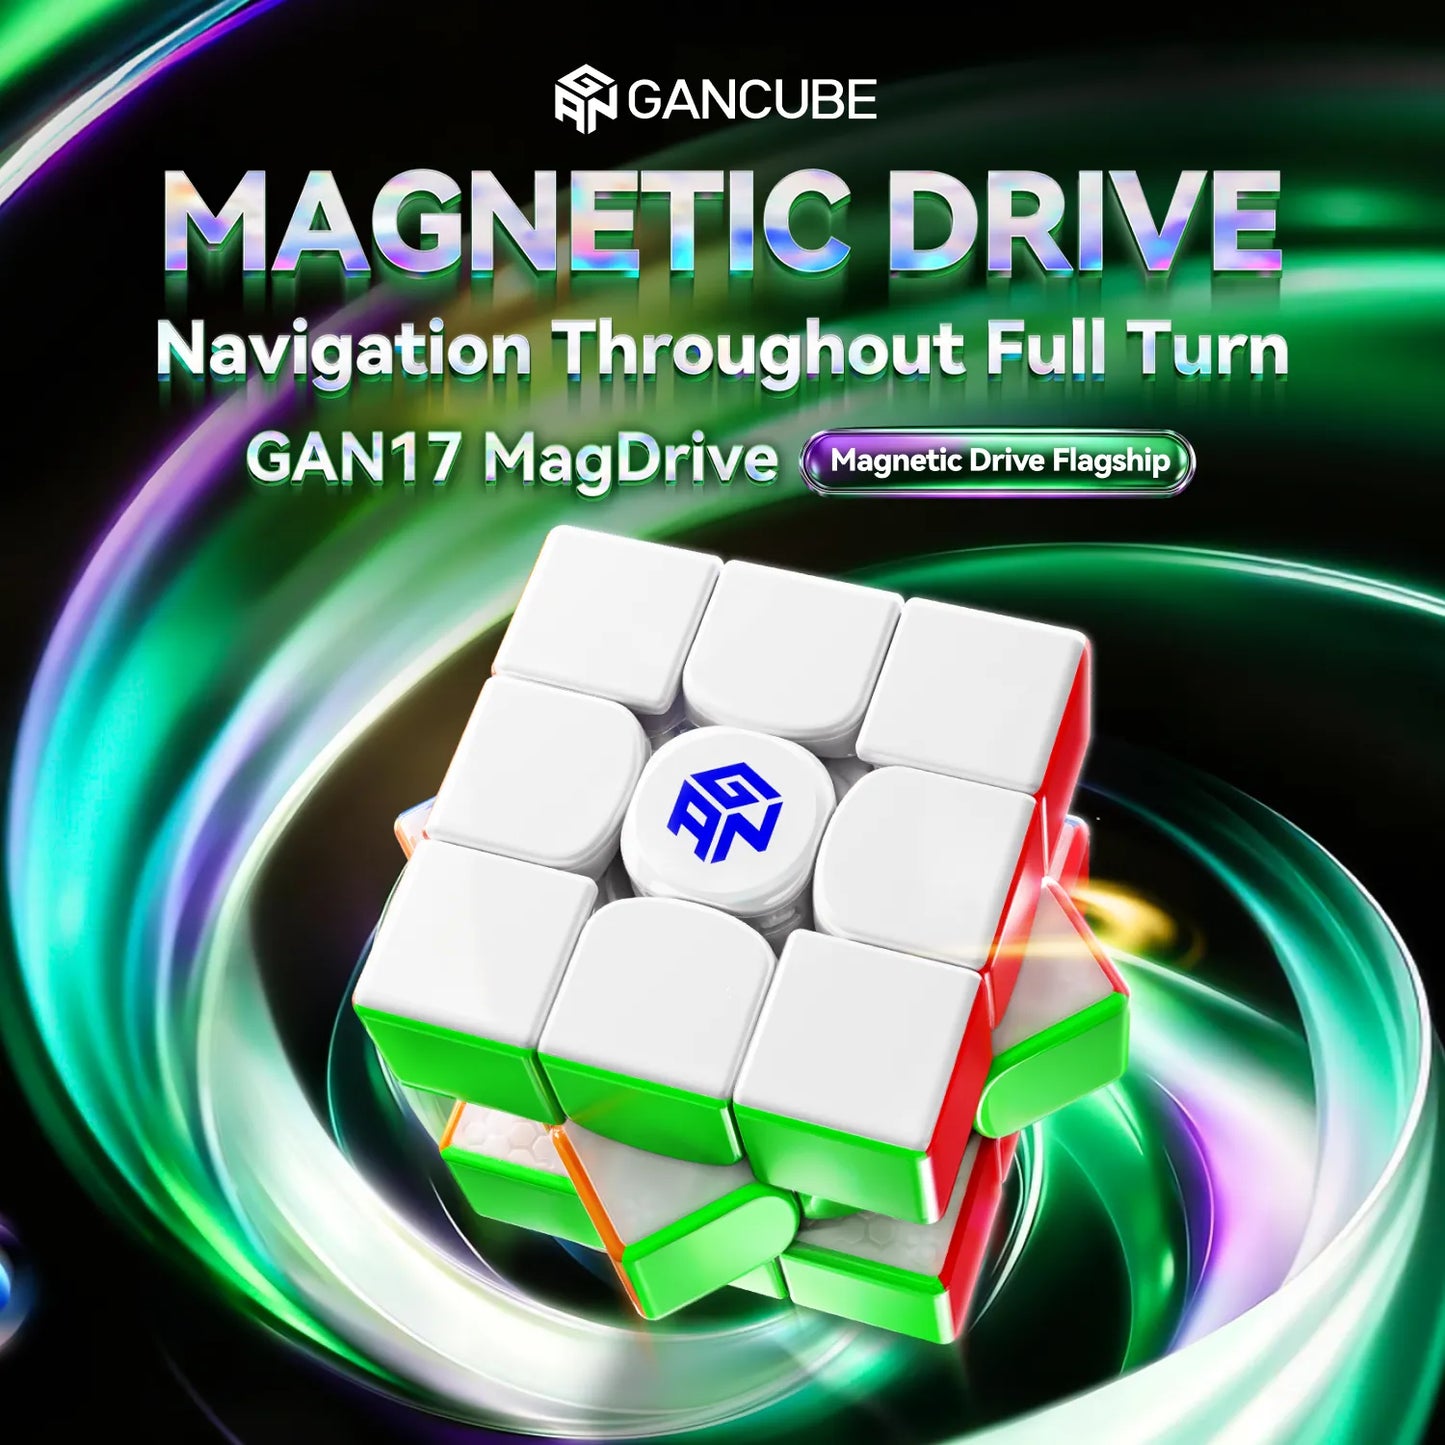
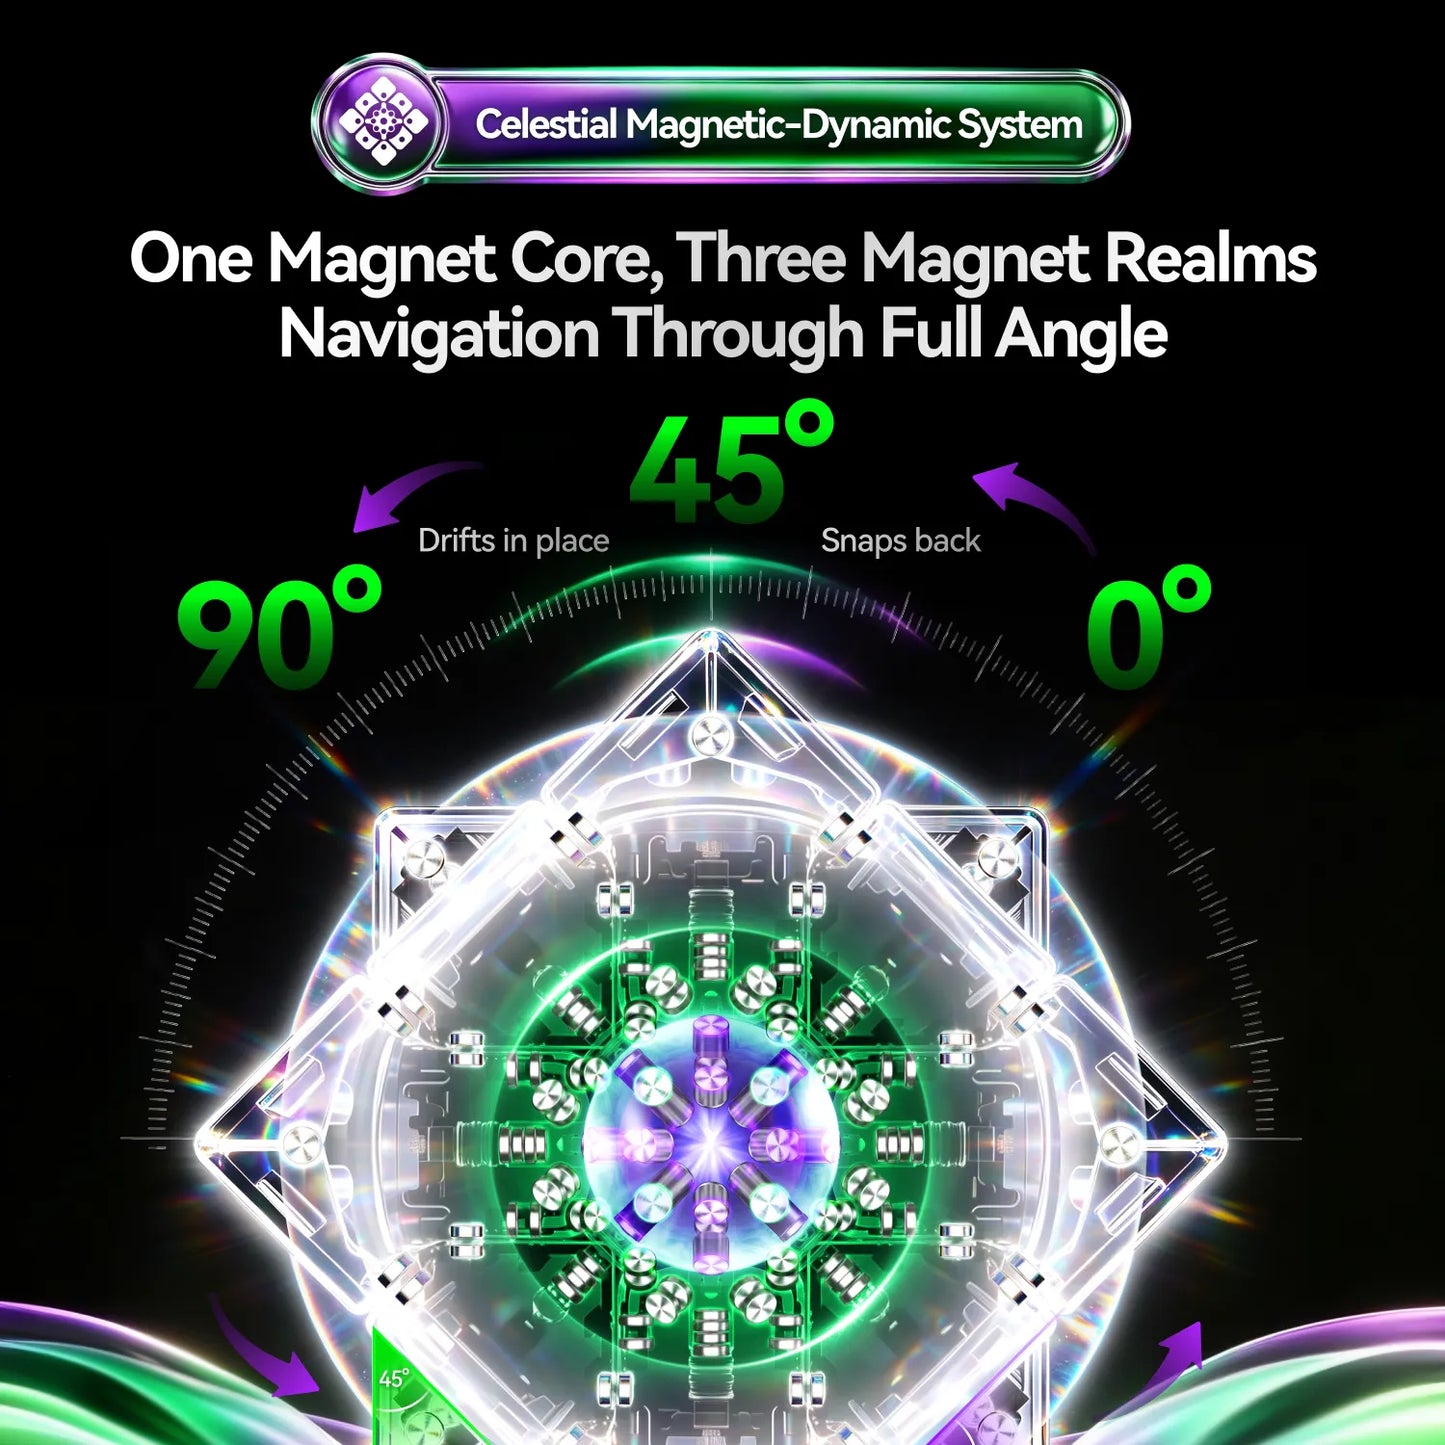
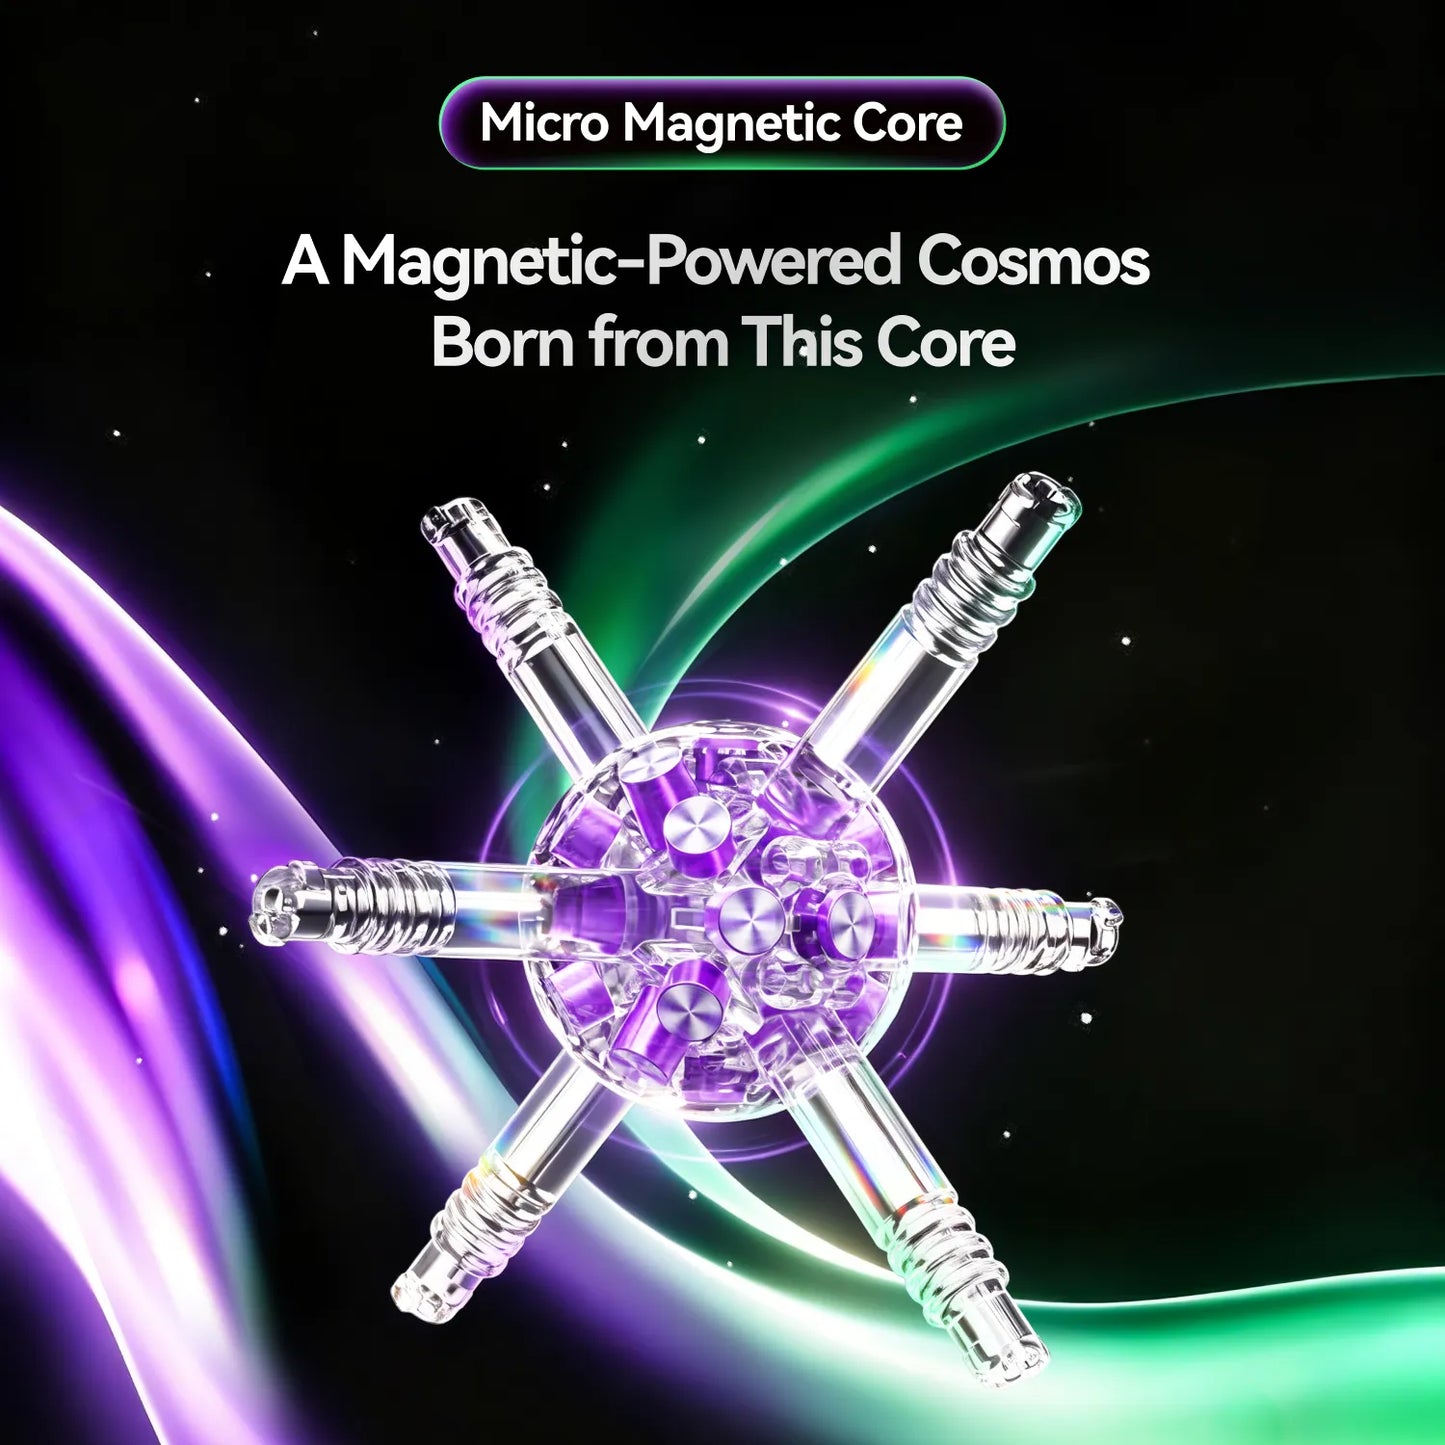
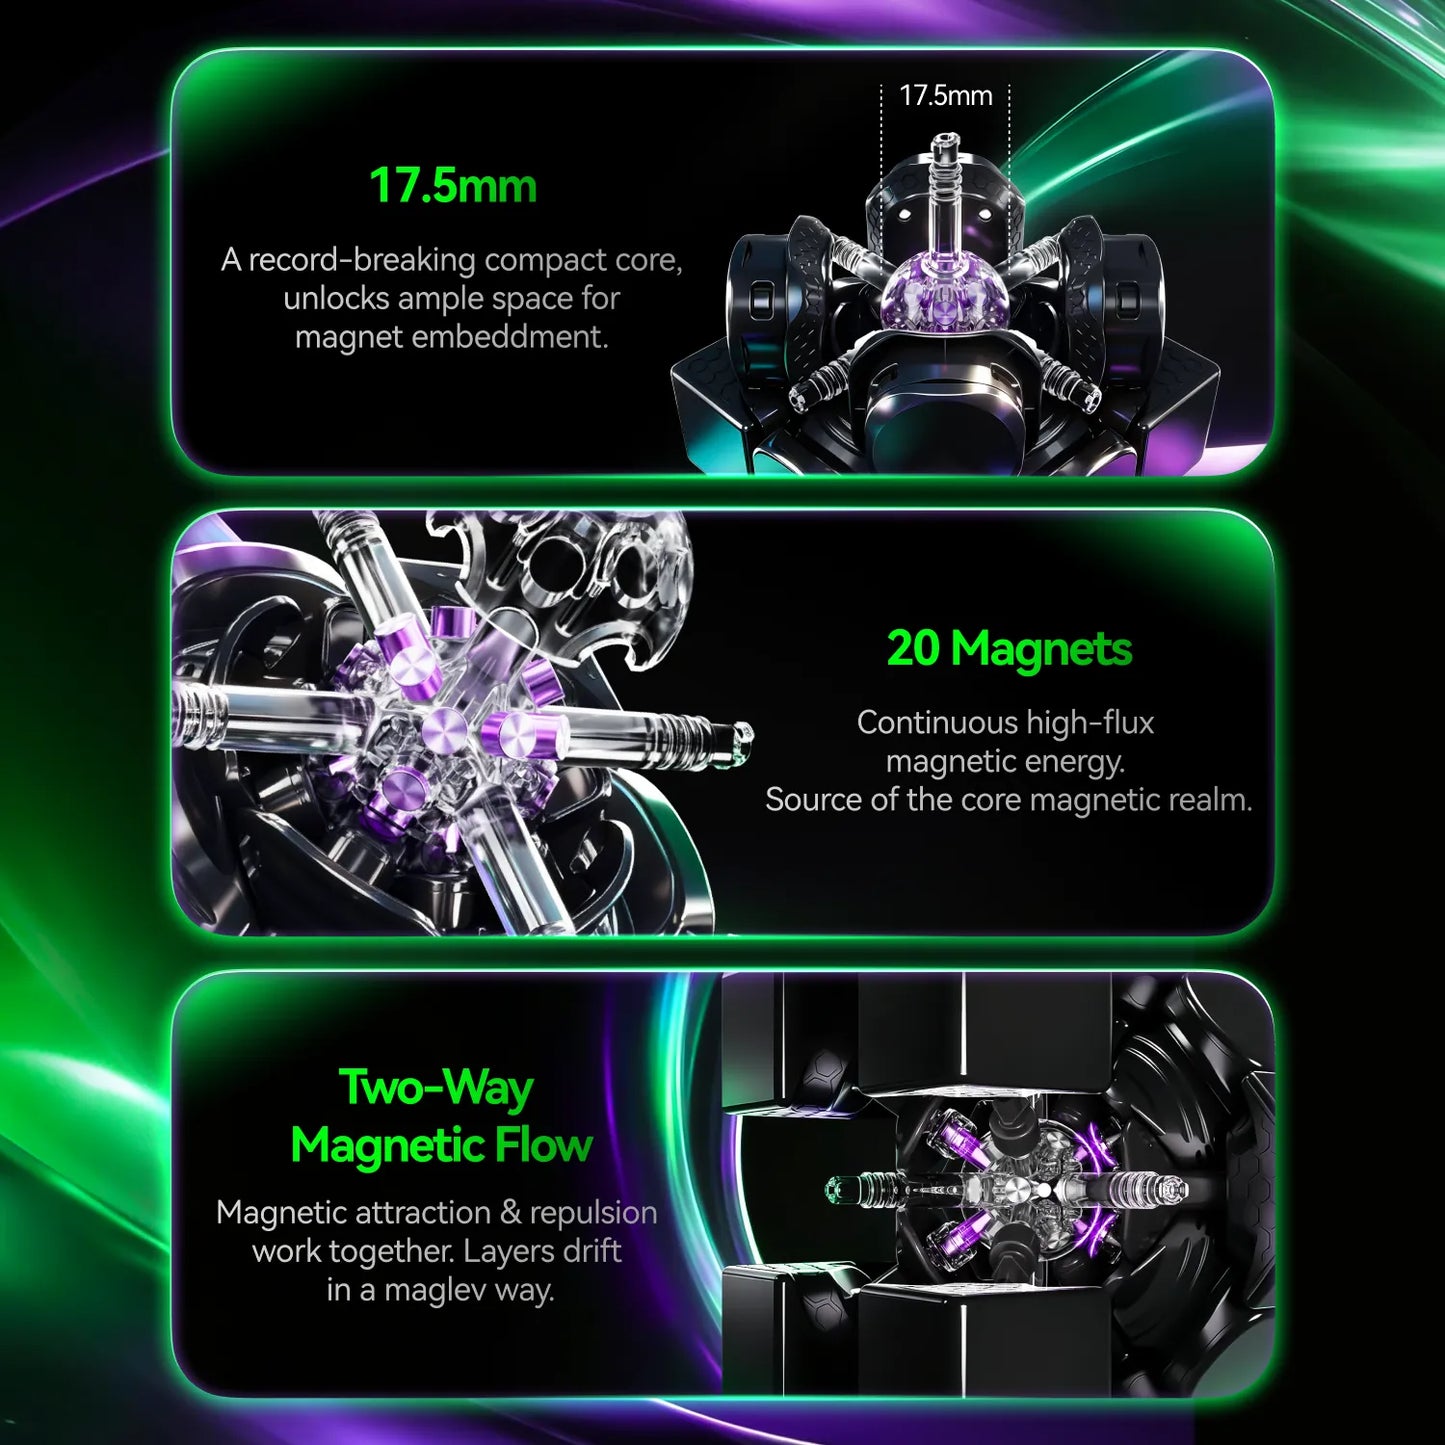
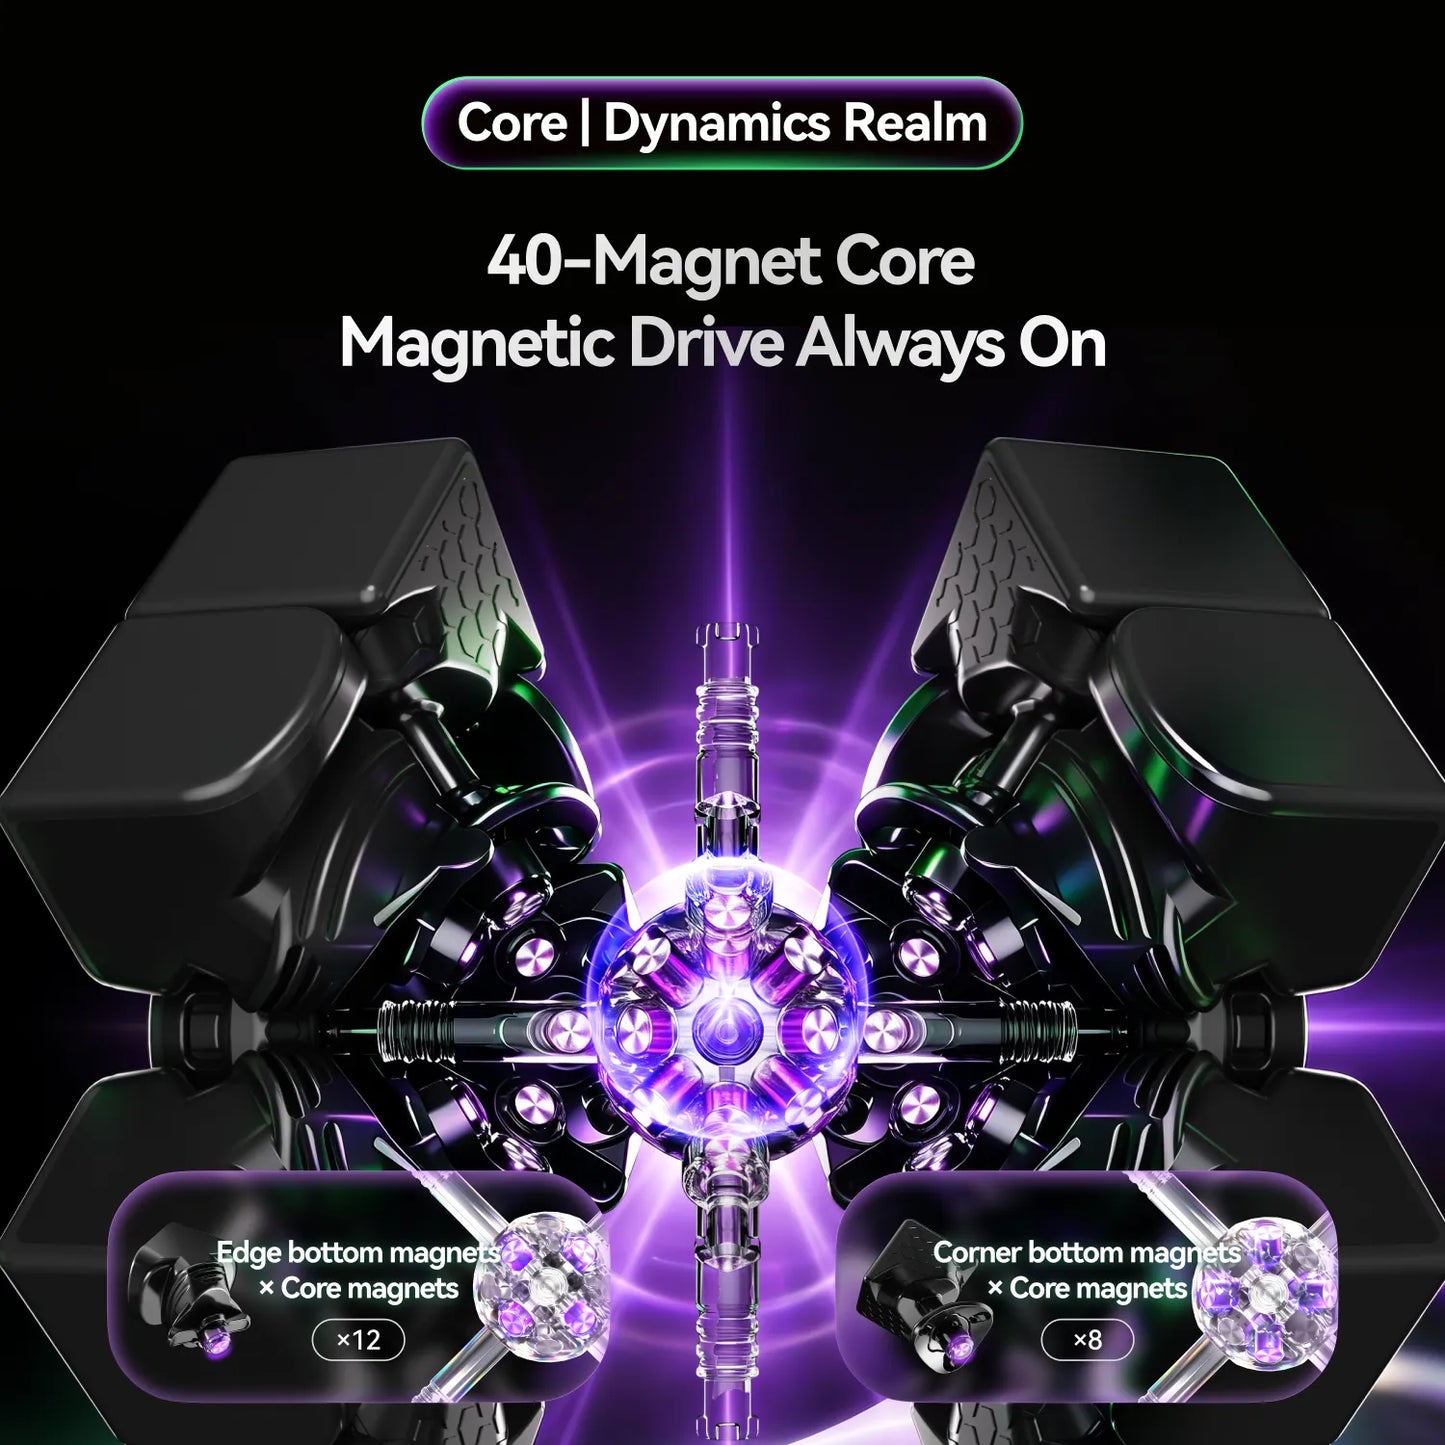
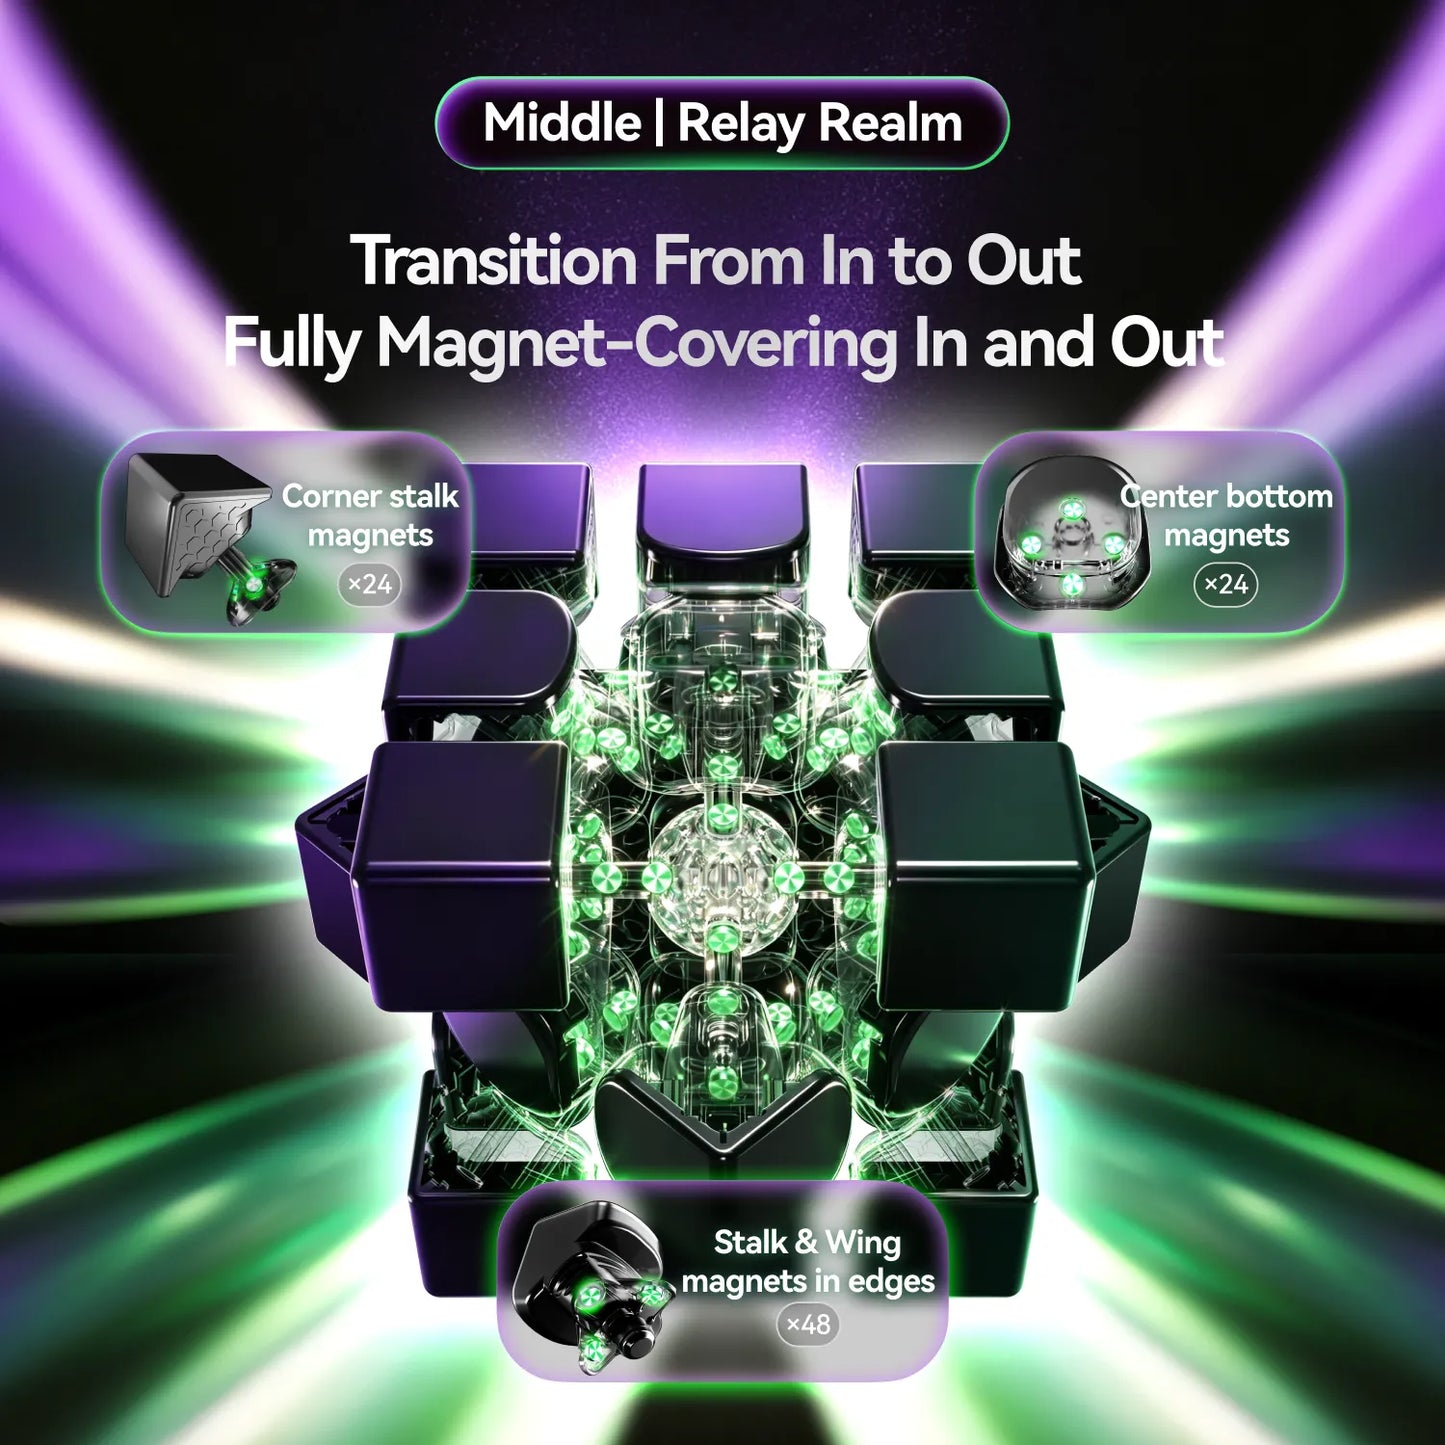
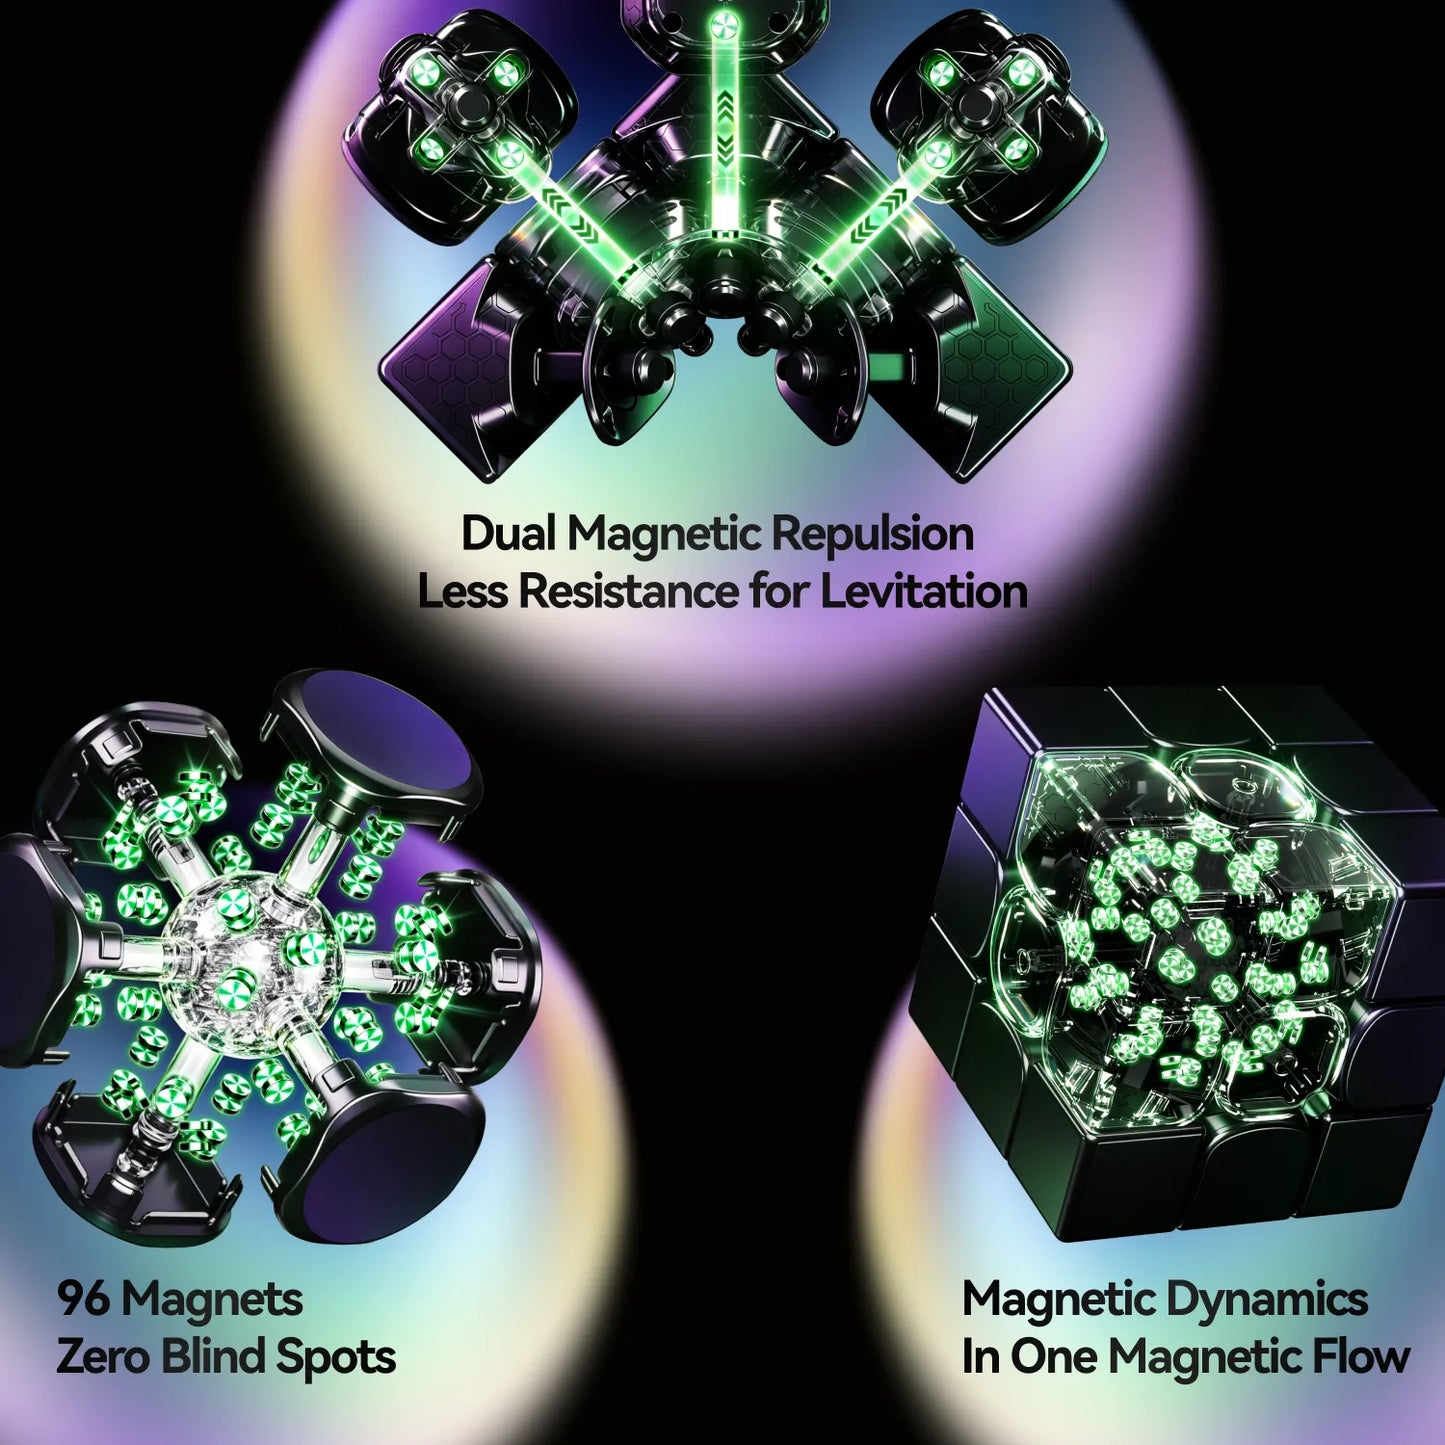
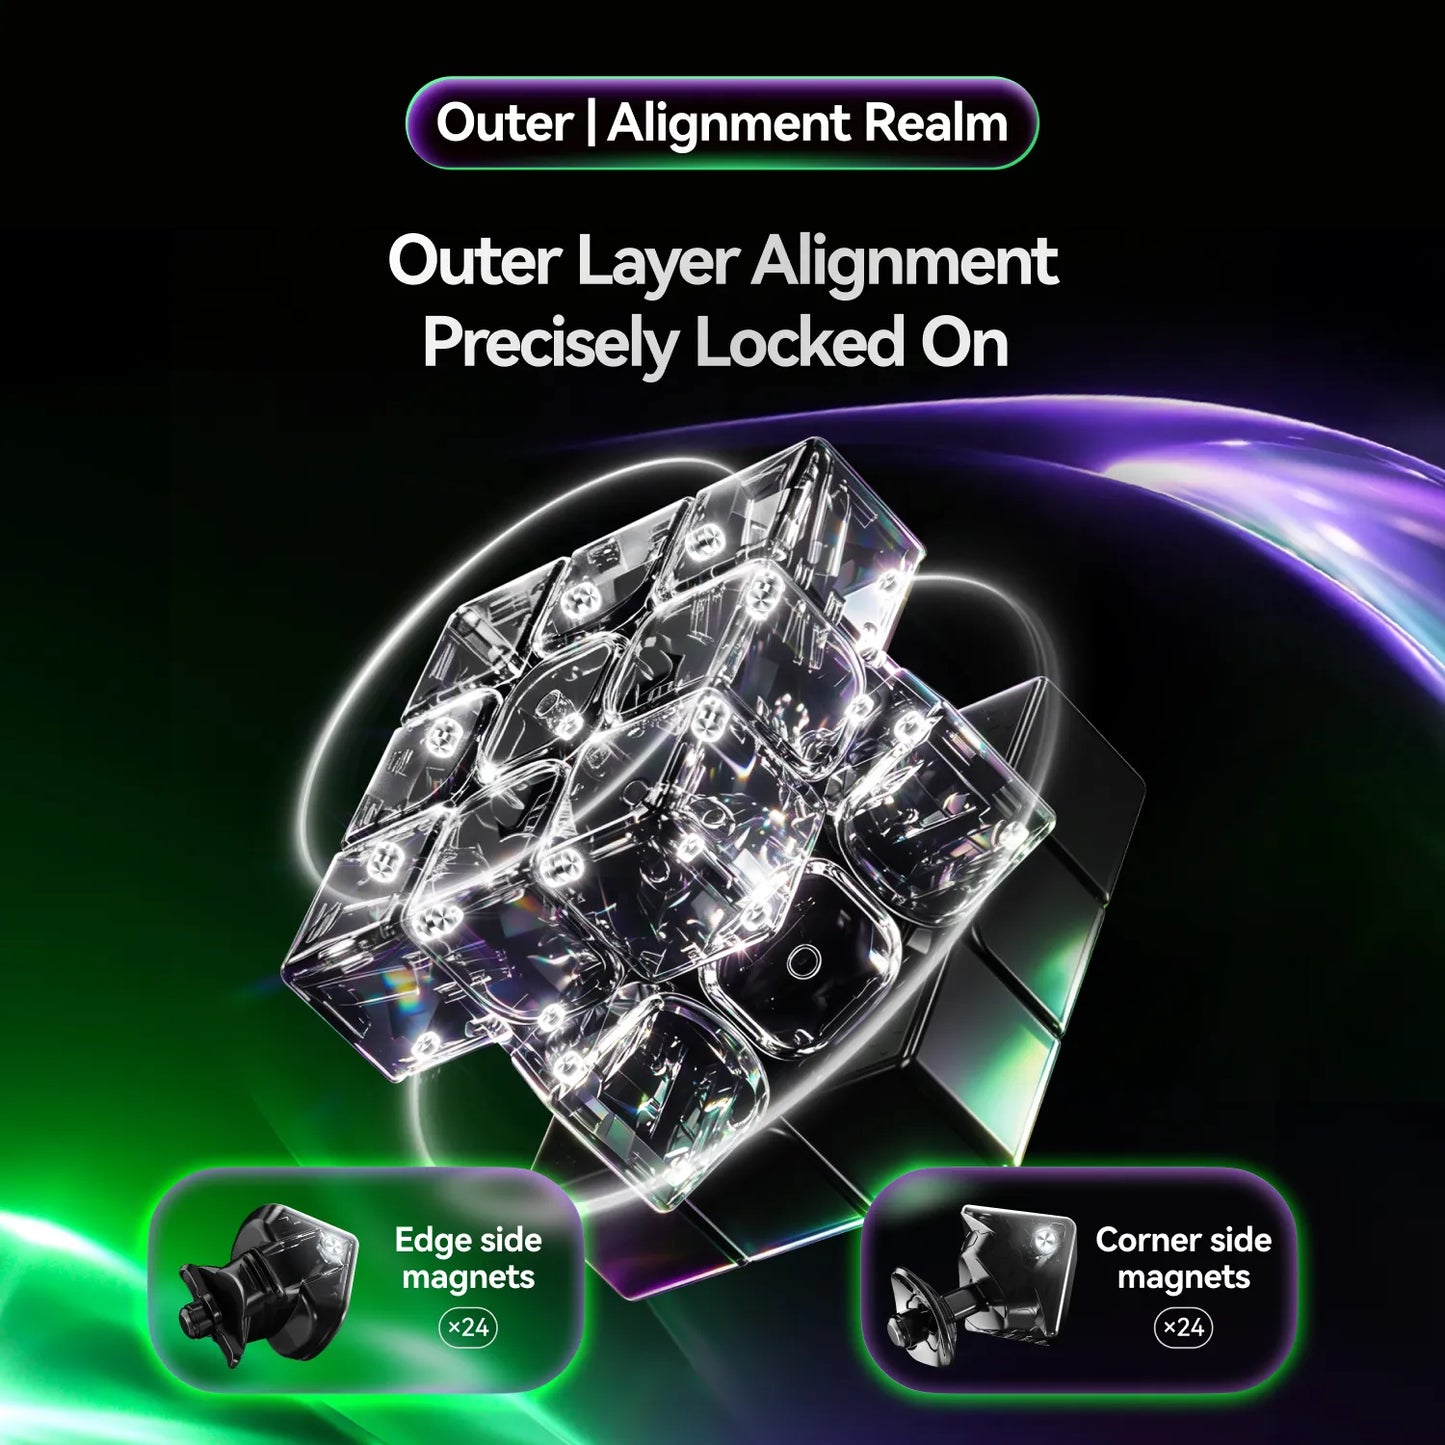
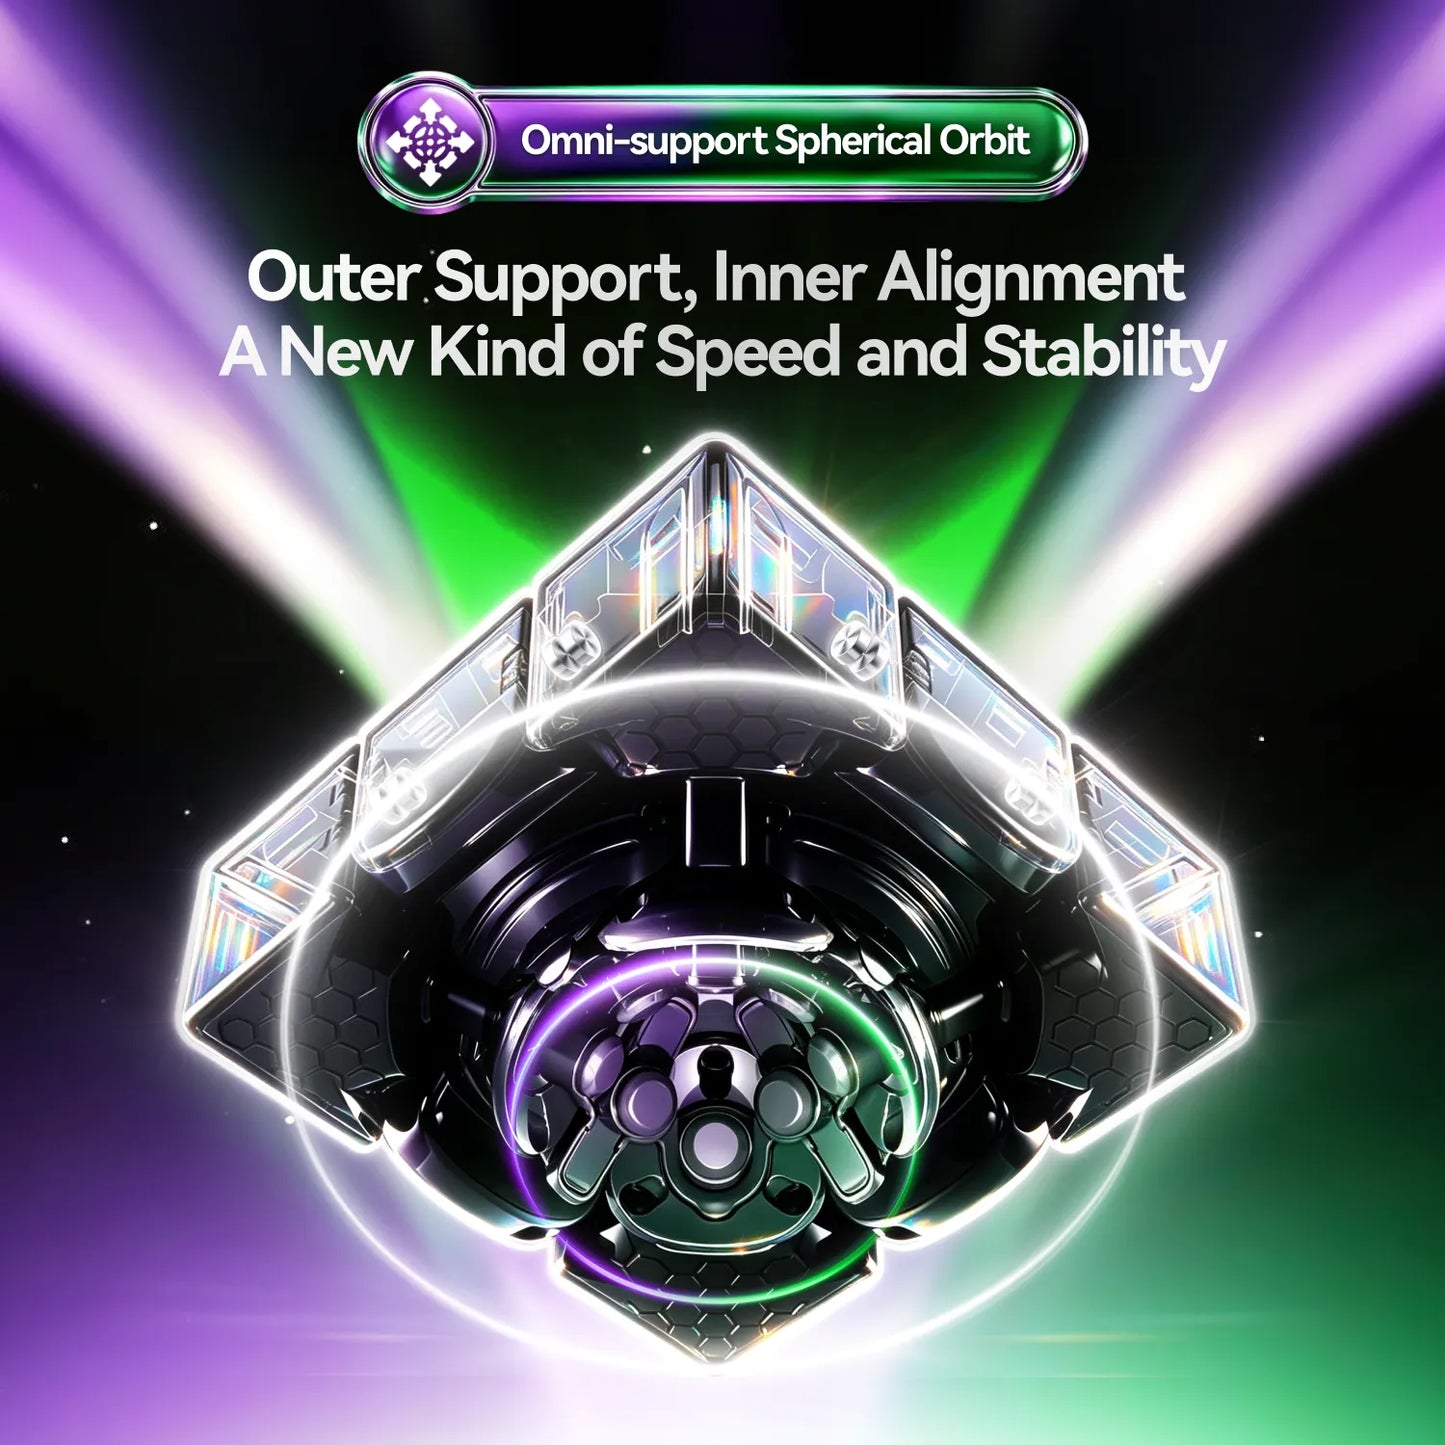
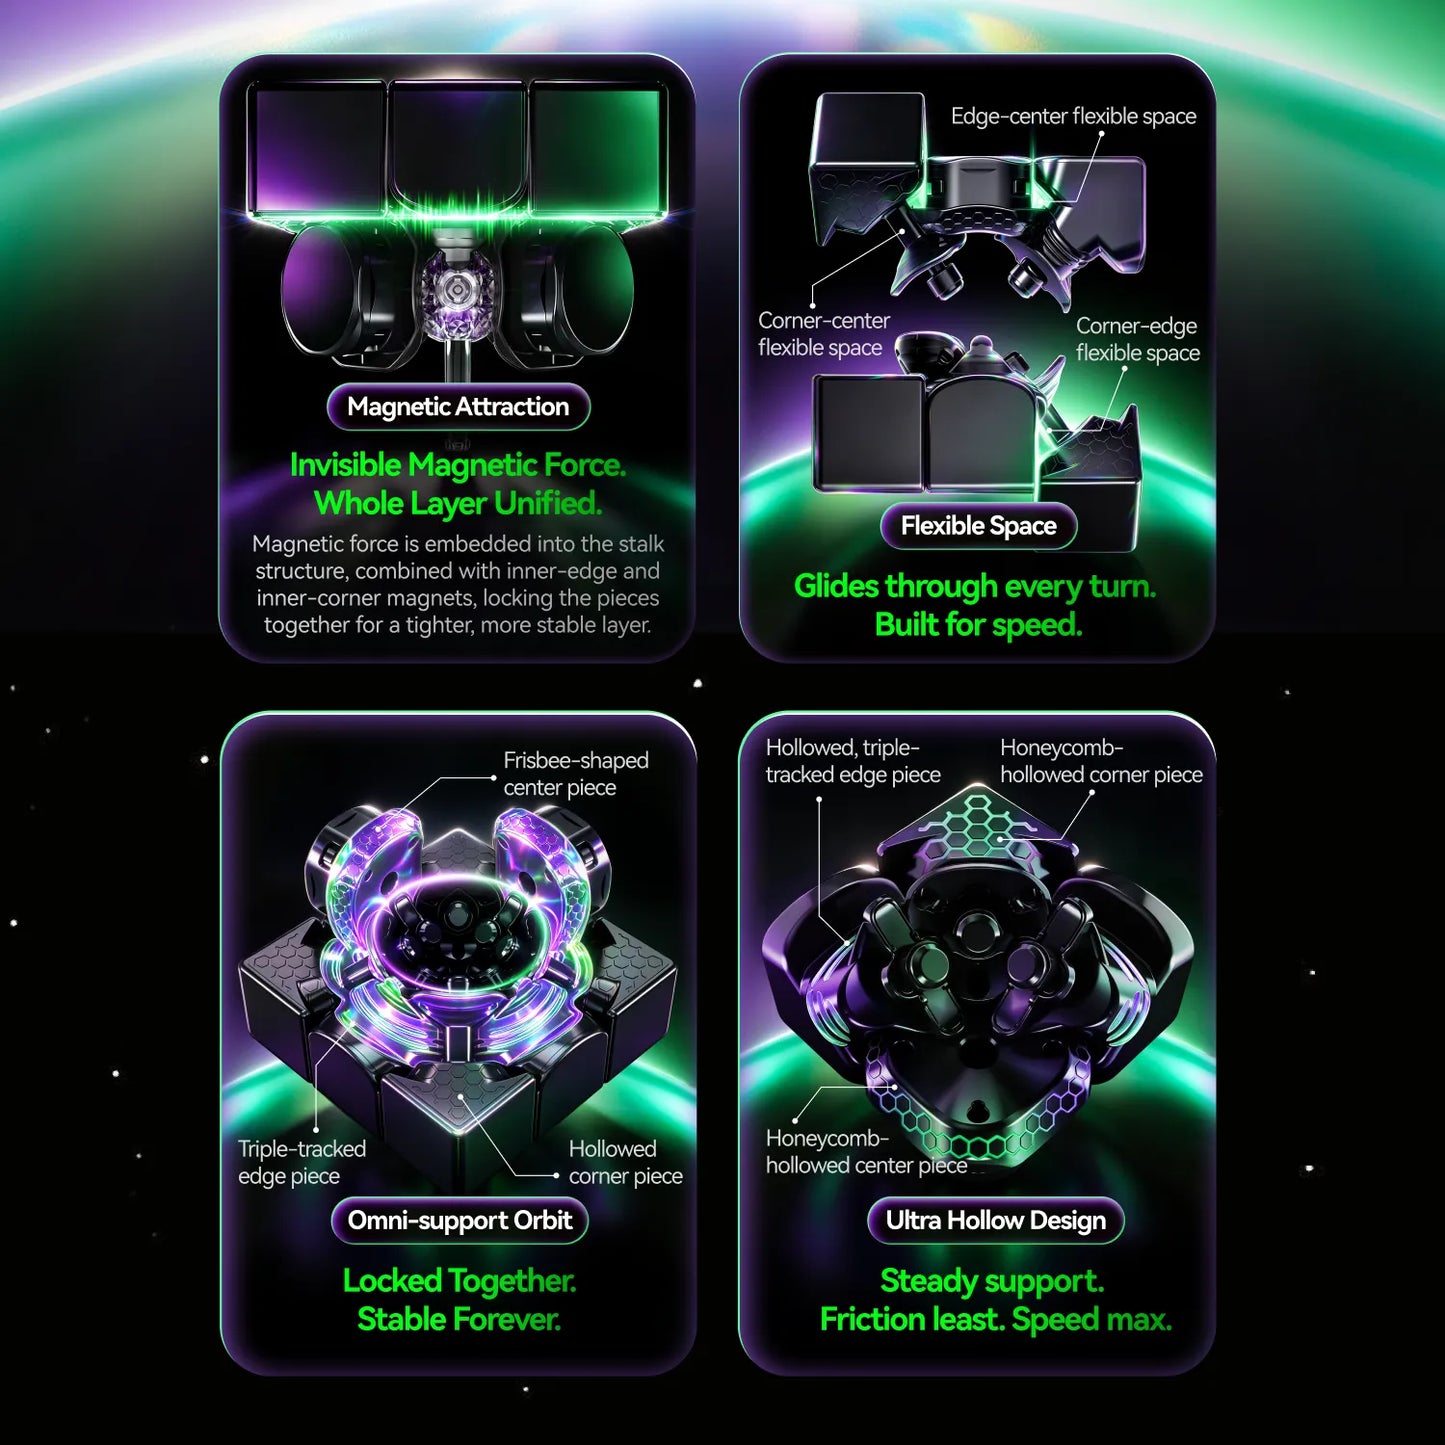
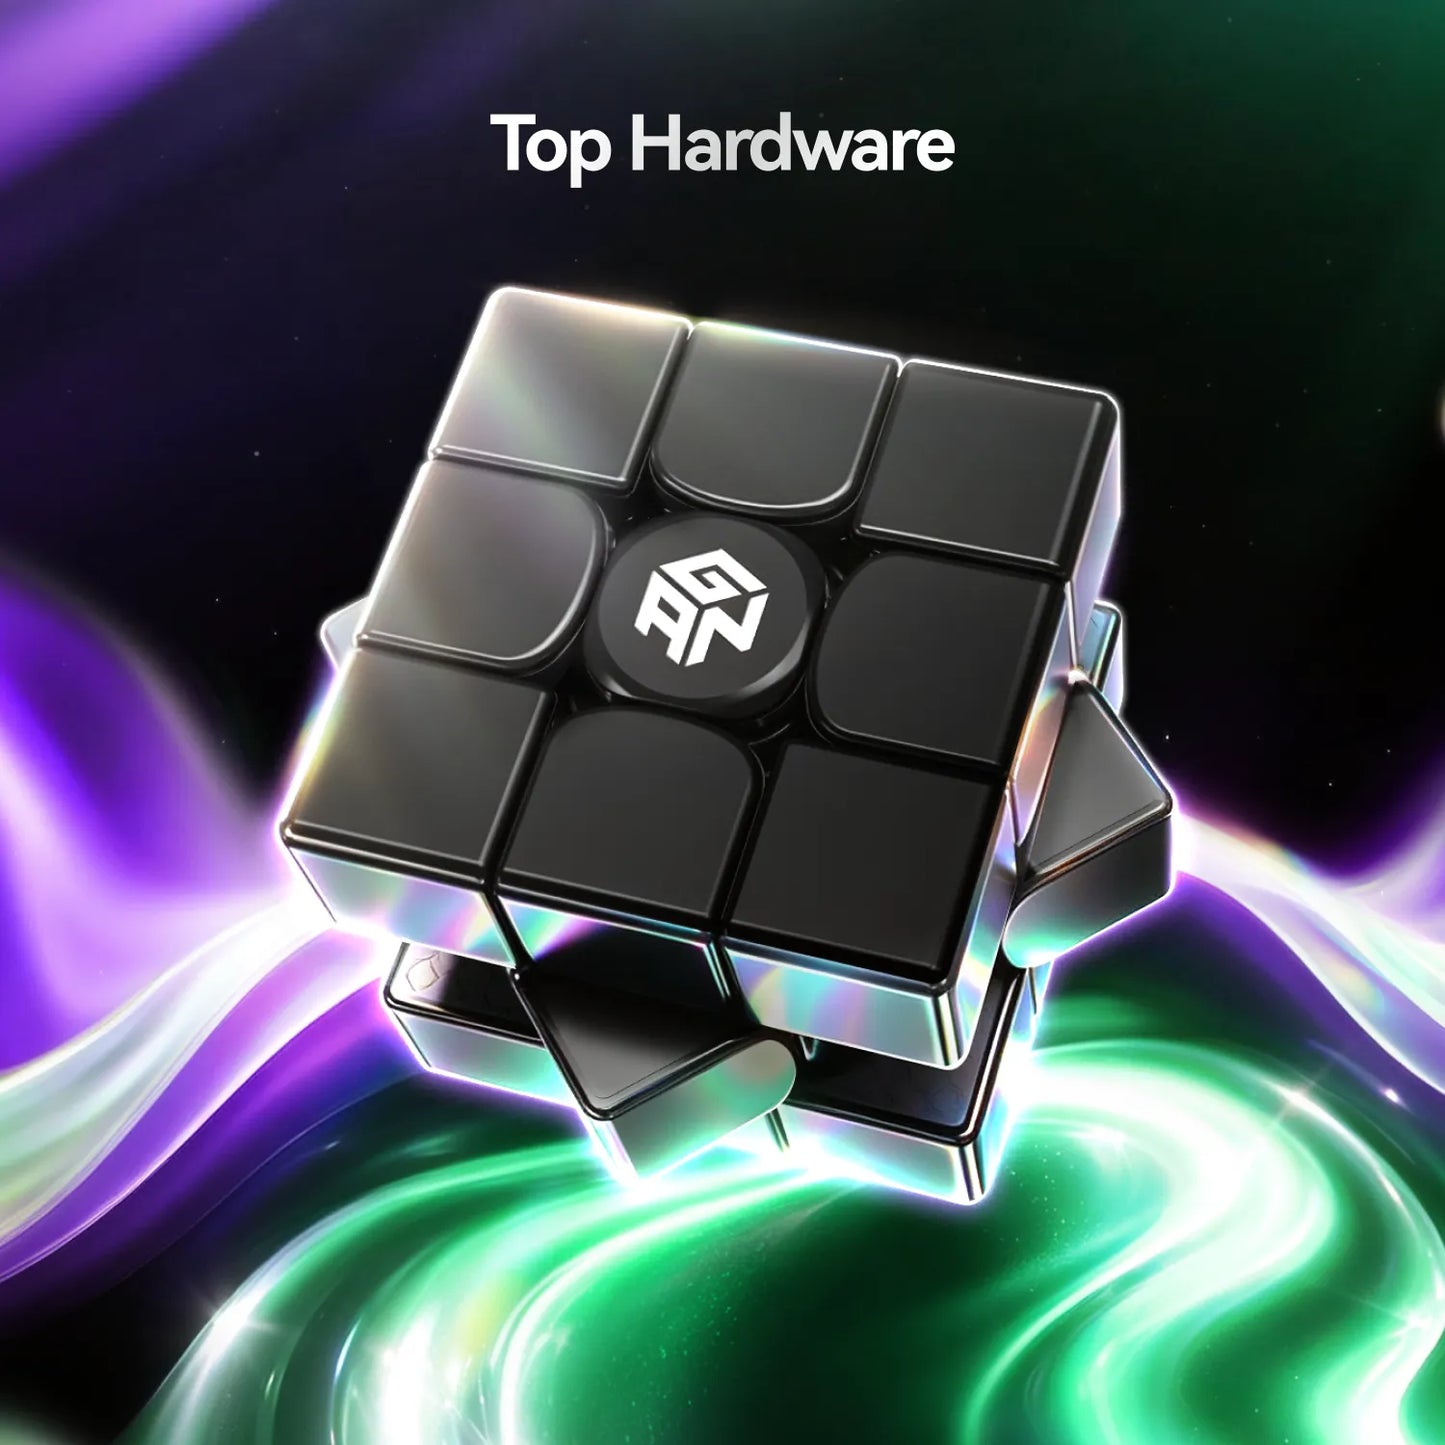
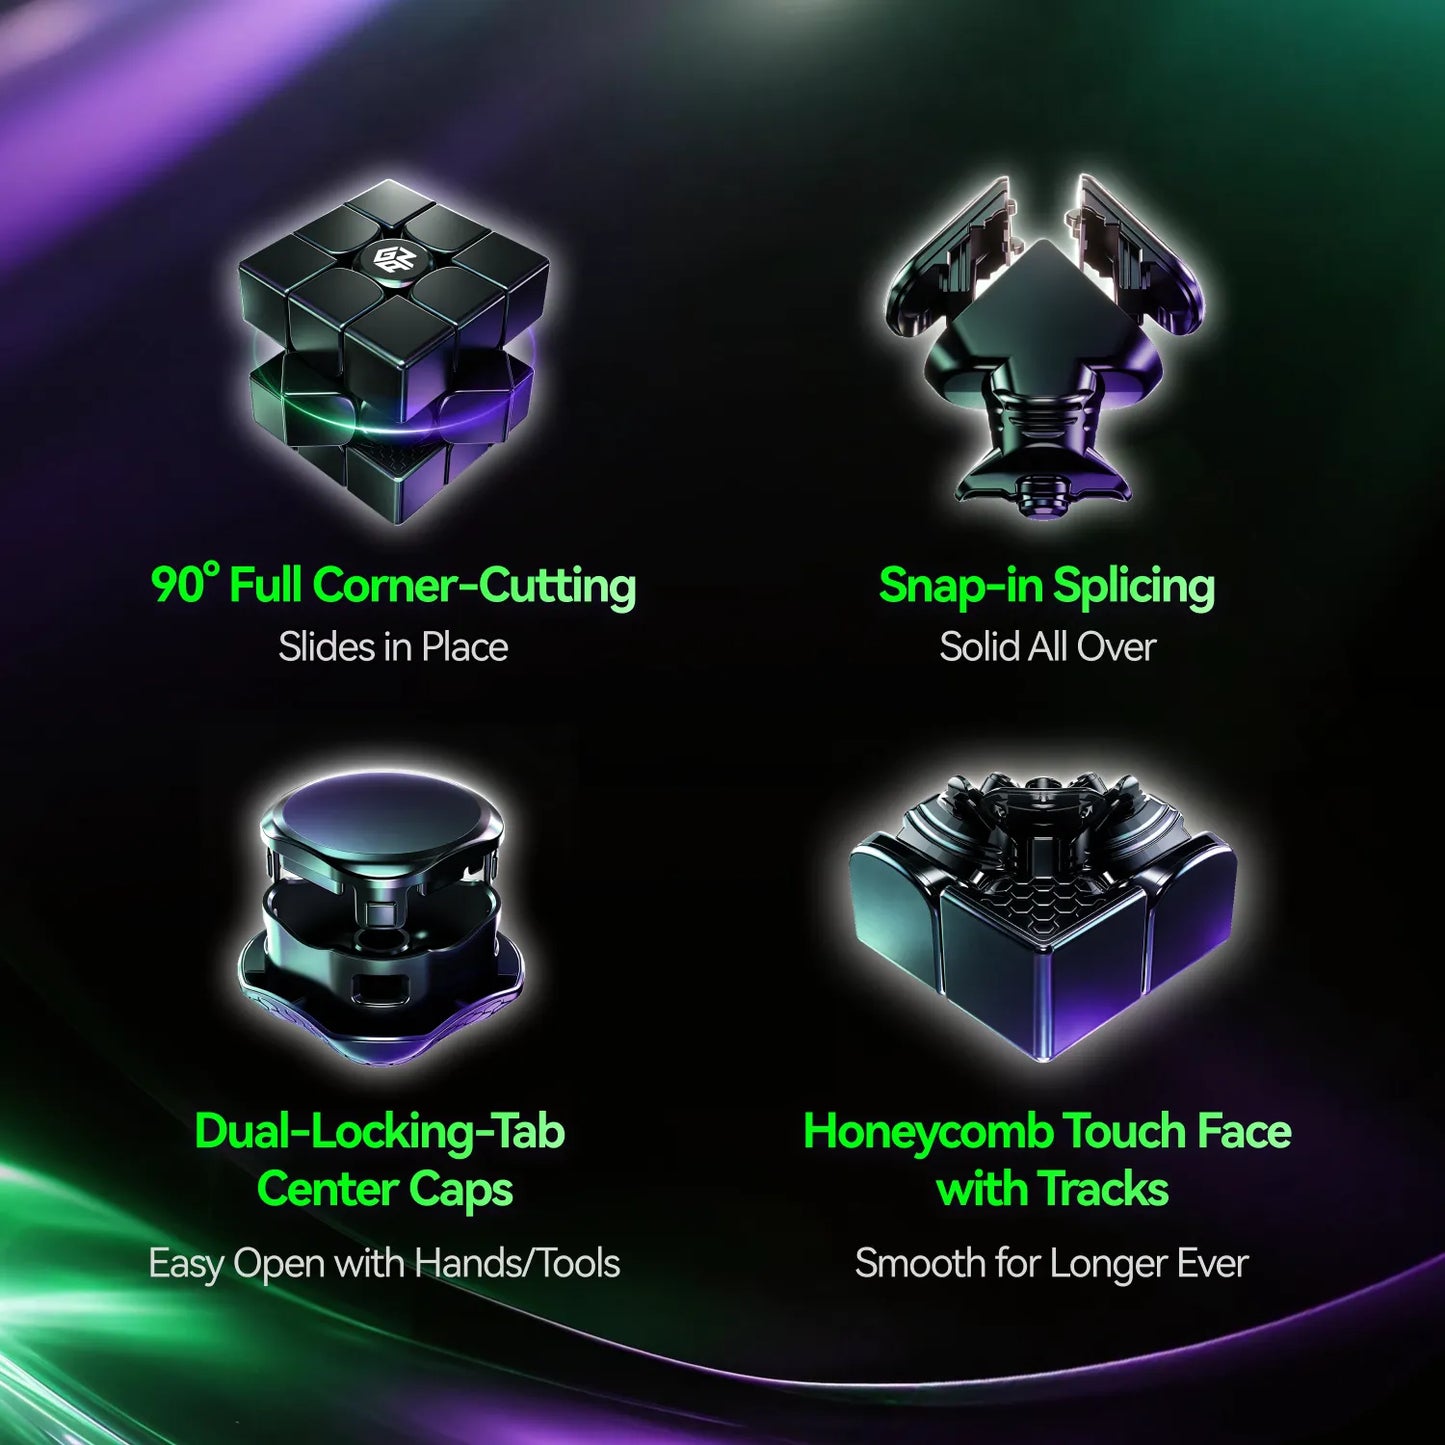
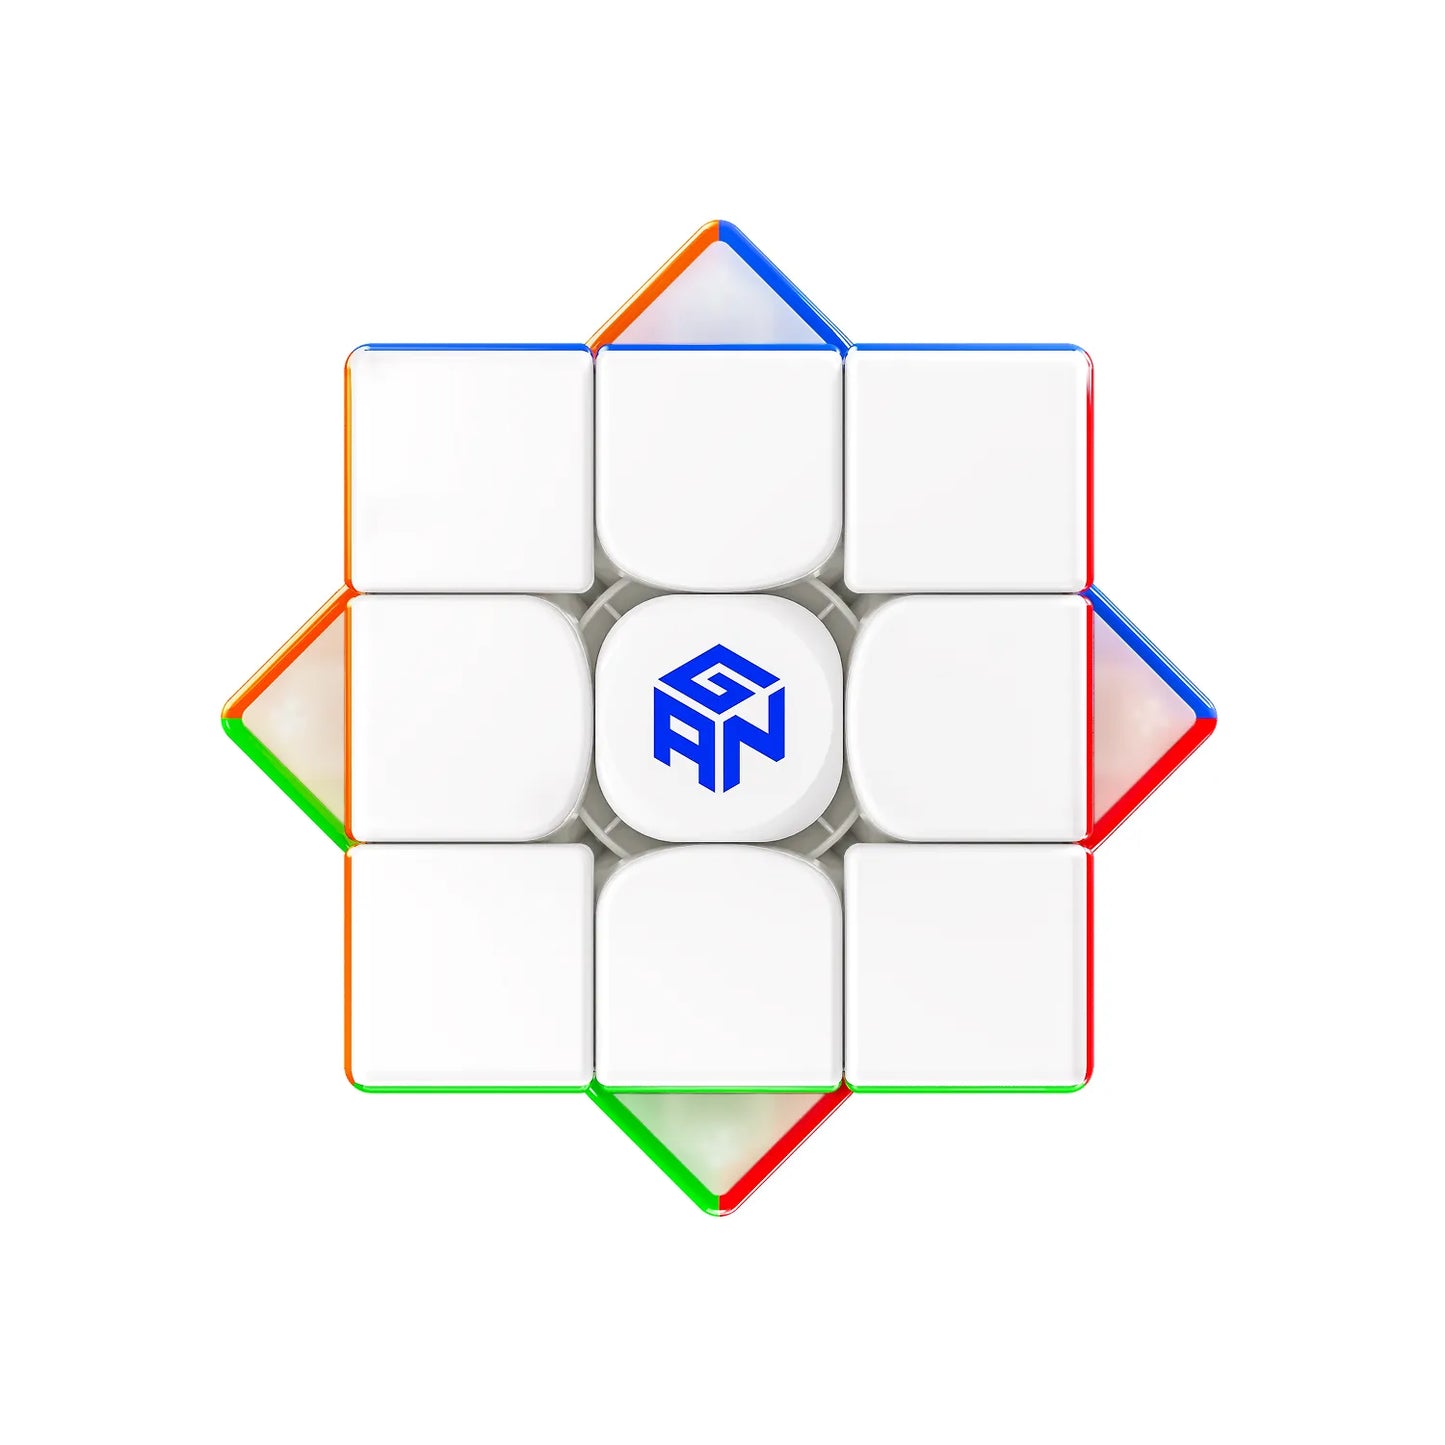
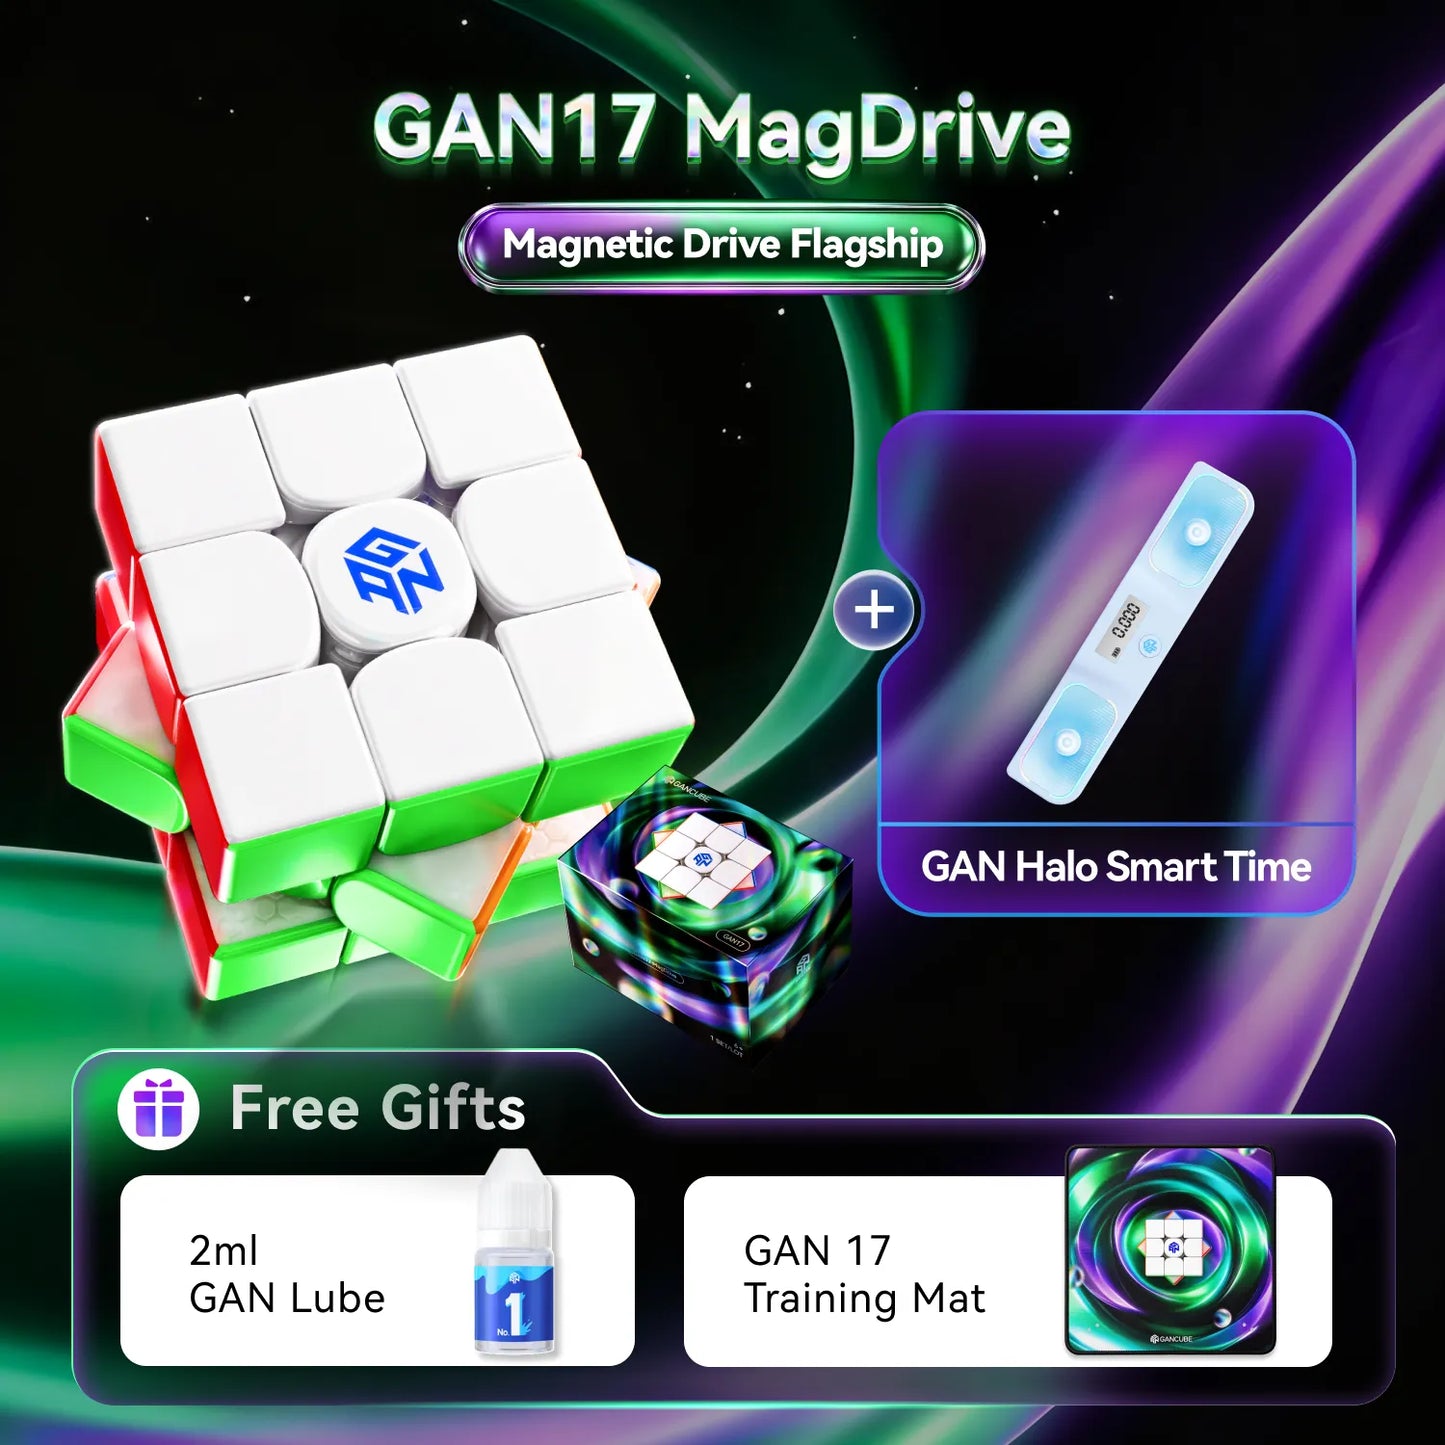
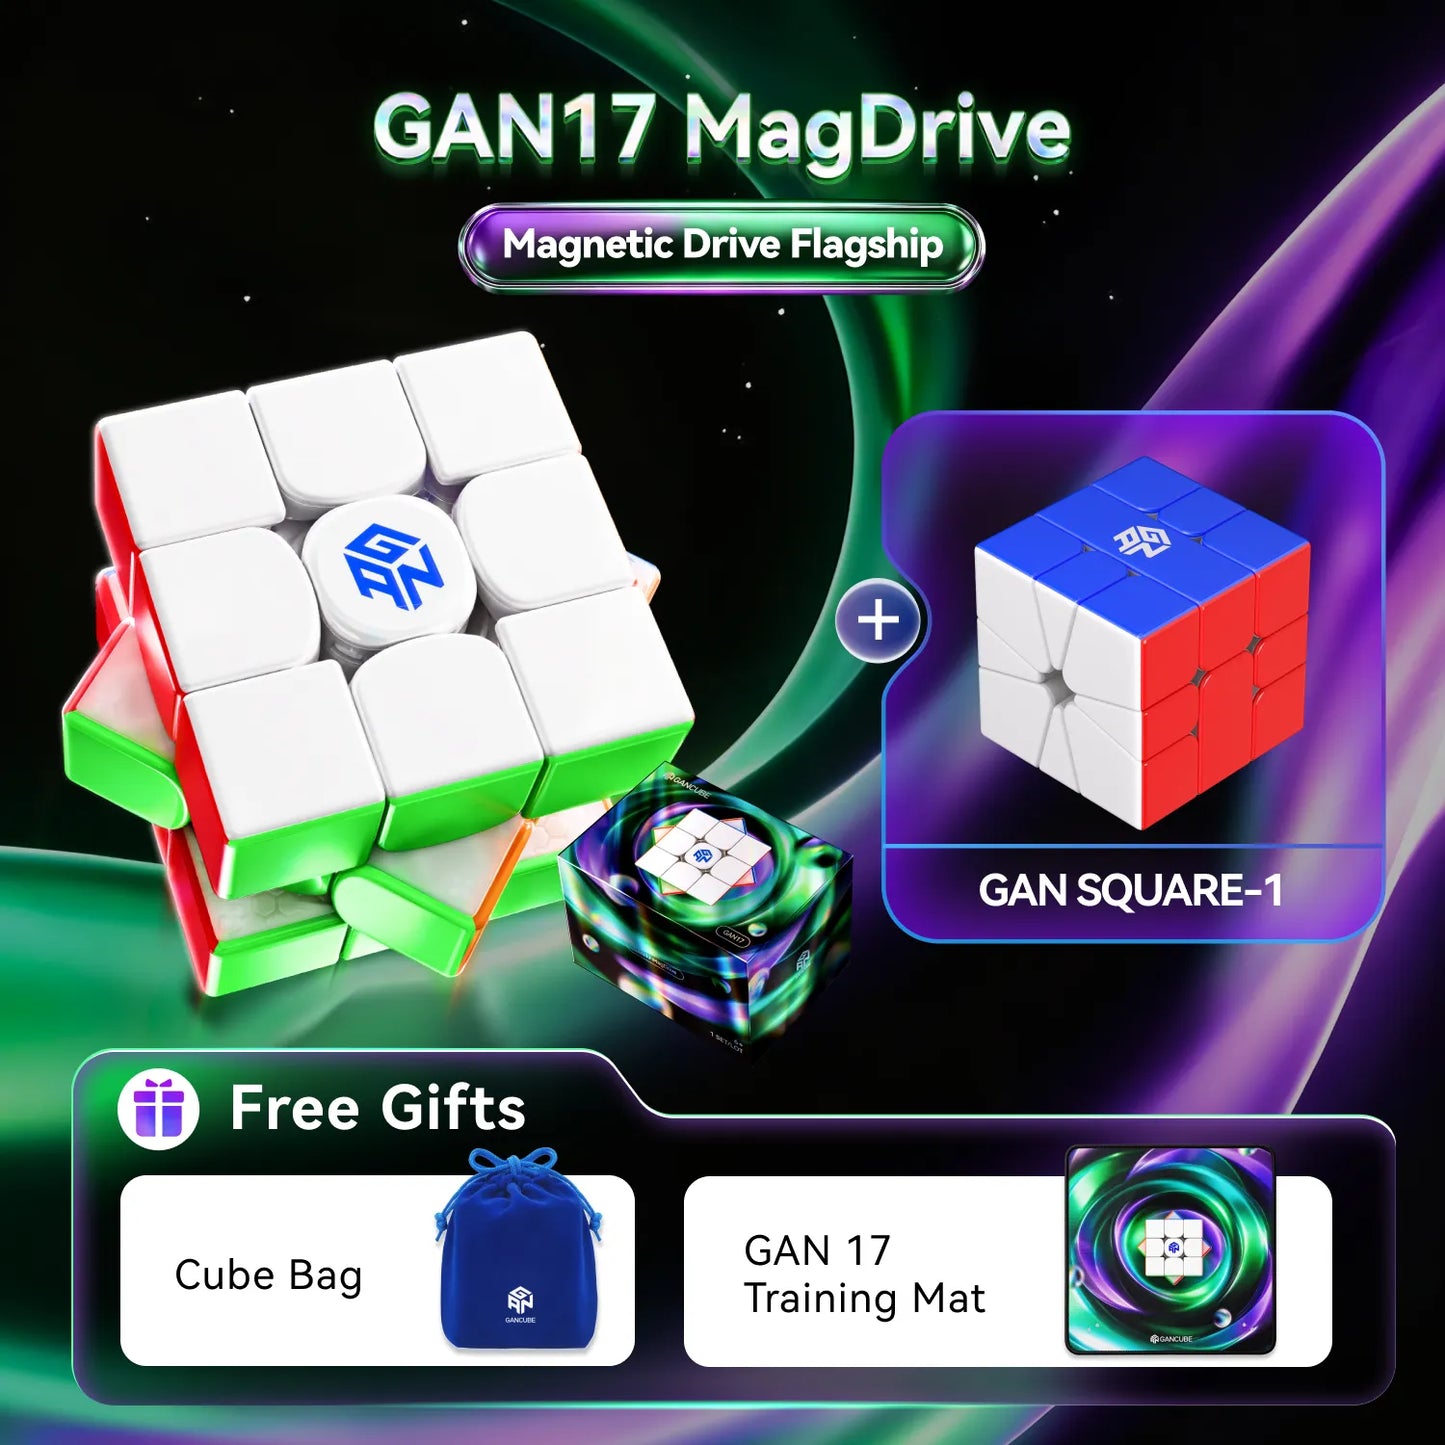
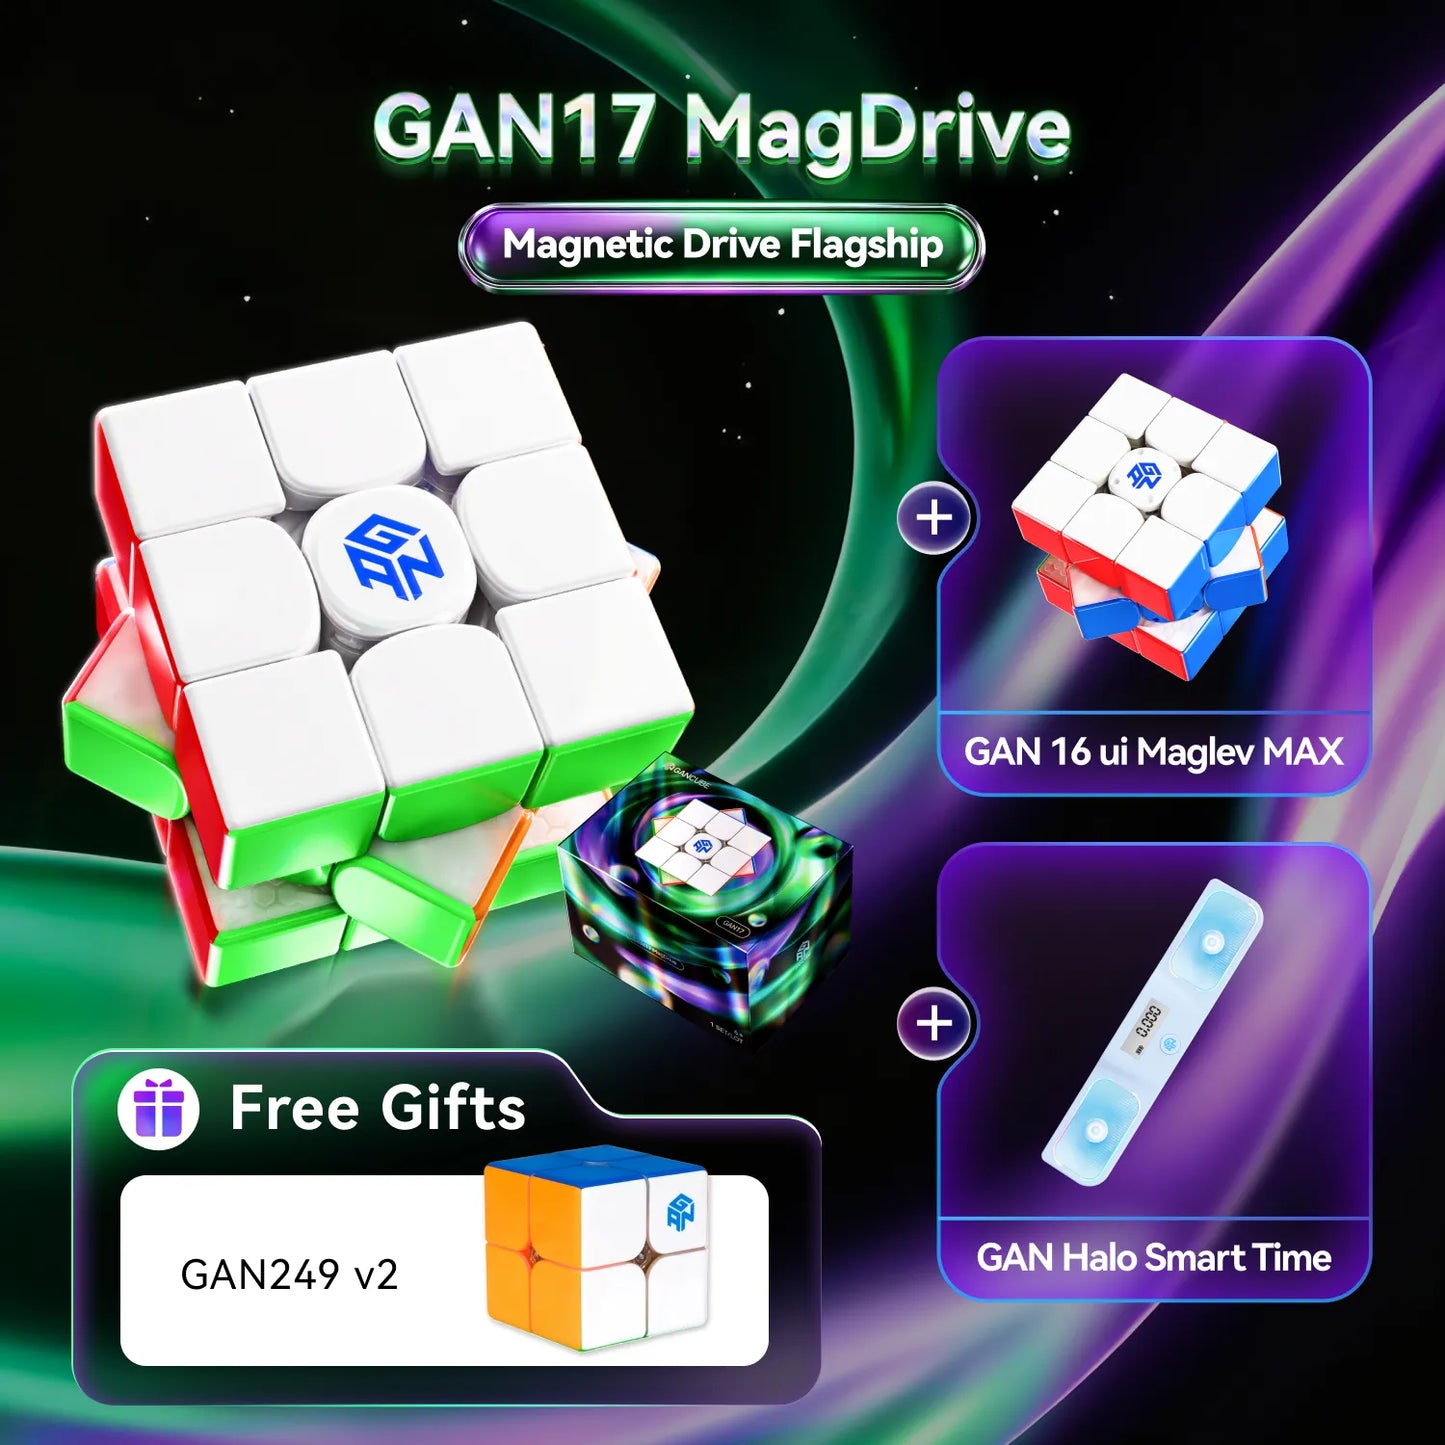
GAN17 MagDrive is GAN’s 2026 flagship maglev 3x3 speed cube, featuring the Celestial Magnetic-Dynamic System with 196 magnets, One Magnet Core and Three Magnet Realms for Full-Angle Navigation. It combines a 17.5 mm Micro Magnetic Core, Maglev, Omni-support Spherical Orbit and Full-Freedom Numerical Tuning to deliver adjustable magnetic guidance, stability and control for high-performance speedcubing.
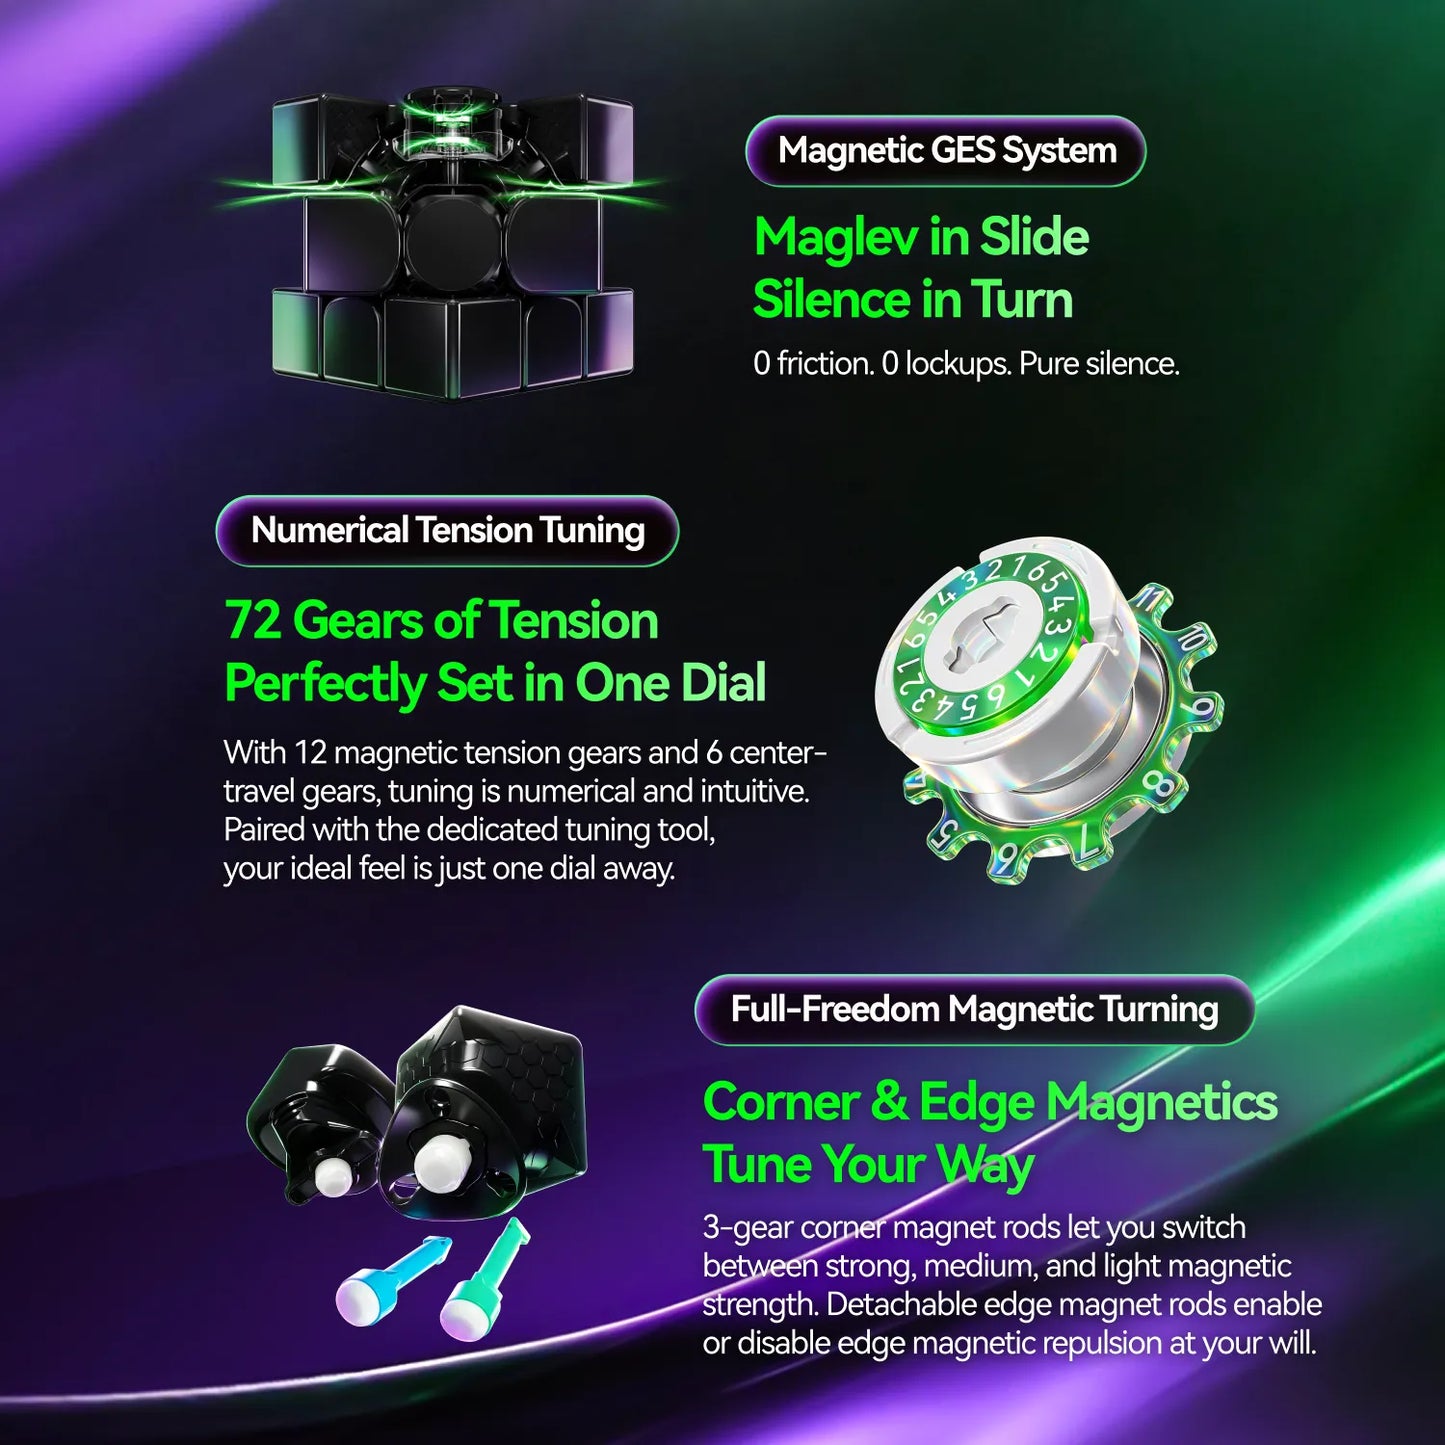
Maglev Suspension System: Utilizes magnetic repulsion forces to replace traditional physical springs, ensuring a 100% linear, ultra-smooth, and noiseless turning experience.


They've tried it. They've tested it.
Now hear what the pros really think.
Unbox the next generation of speed.
Meet GAN17 MagDrive, fresh out of the box and ready to redefine your solve.
What's really happening inside GAN17?
Let's break down MagDrive and uncover the magnetic force behind the speed.


Download the official GAN17 MagDrive User Manual for setup, tuning, and magnetic adjustment guidance. Learn how to configure 216 customization options with the Magnetic GES system, including six center-travel settings, 12 tension settings, and three levels of corner magnet strength, plus the correct procedure for replacing and securing magnetic rods.
Download the official GANCUBE Magnetic Rods' Replacement and Placement Instructions for step-by-step guidance on removing, installing, and positioning magnetic rods correctly. Learn how to rotate the rods 60° for locking and unlocking, align them with the corner pieces, and place them in the correct direction to avoid damaging the magnetic rods or inner bracket.
Download our official GAN Halo Timer manual for setup, operation, connectivity, and daily-use guidance. Use it to understand the timer’s controls, supported functions, and recommended setup process for speedcubing practice.
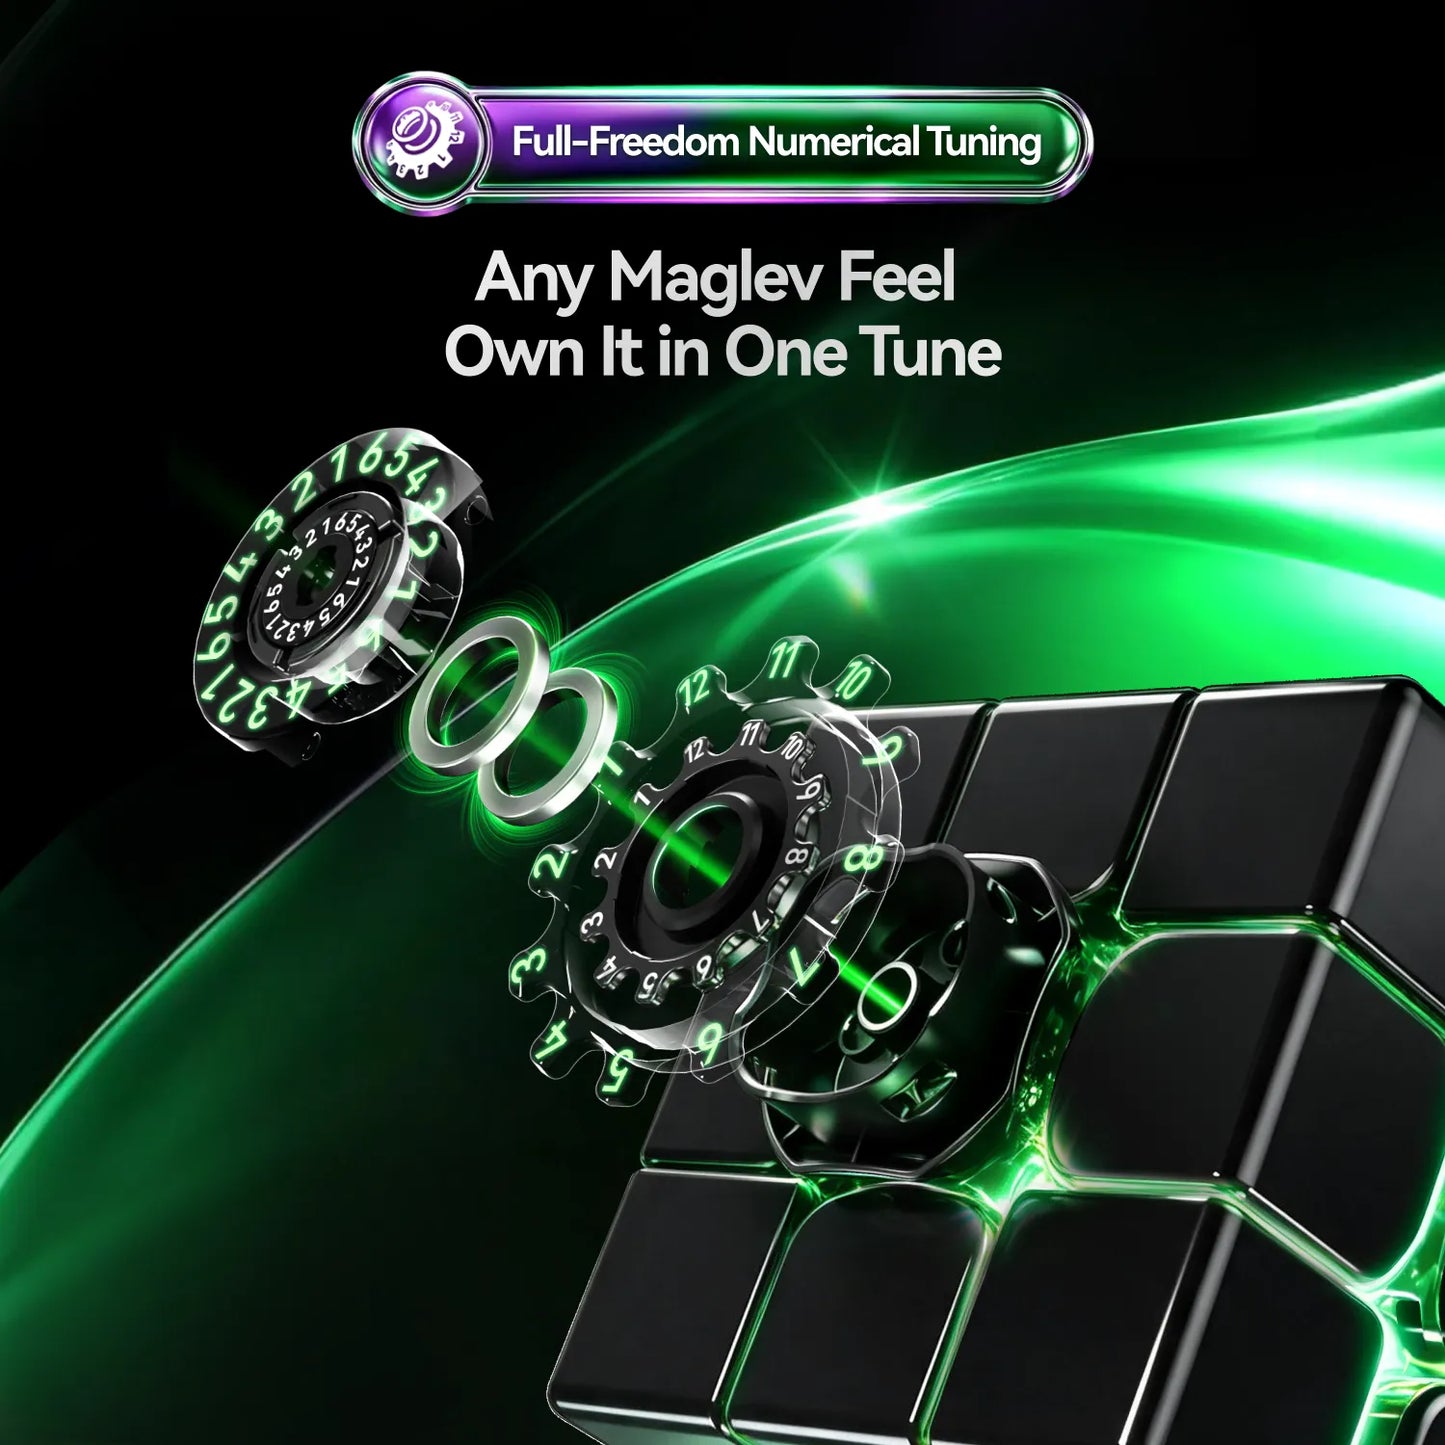
We provide 216 customization options through six center-travel settings, 12 tension settings, and three levels of corner magnet strength.
We use Magnetic GES to adjust both center travel and tension through the numerical distancing nut and tension nut, giving you independent control over the cube’s mechanical feel.
We provide six center-travel settings. Smaller numbers create a tighter feel, while larger numbers increase center travel and make the cube feel looser.
We provide 12 tension settings. Higher numbers increase tension and make the cube feel tighter.
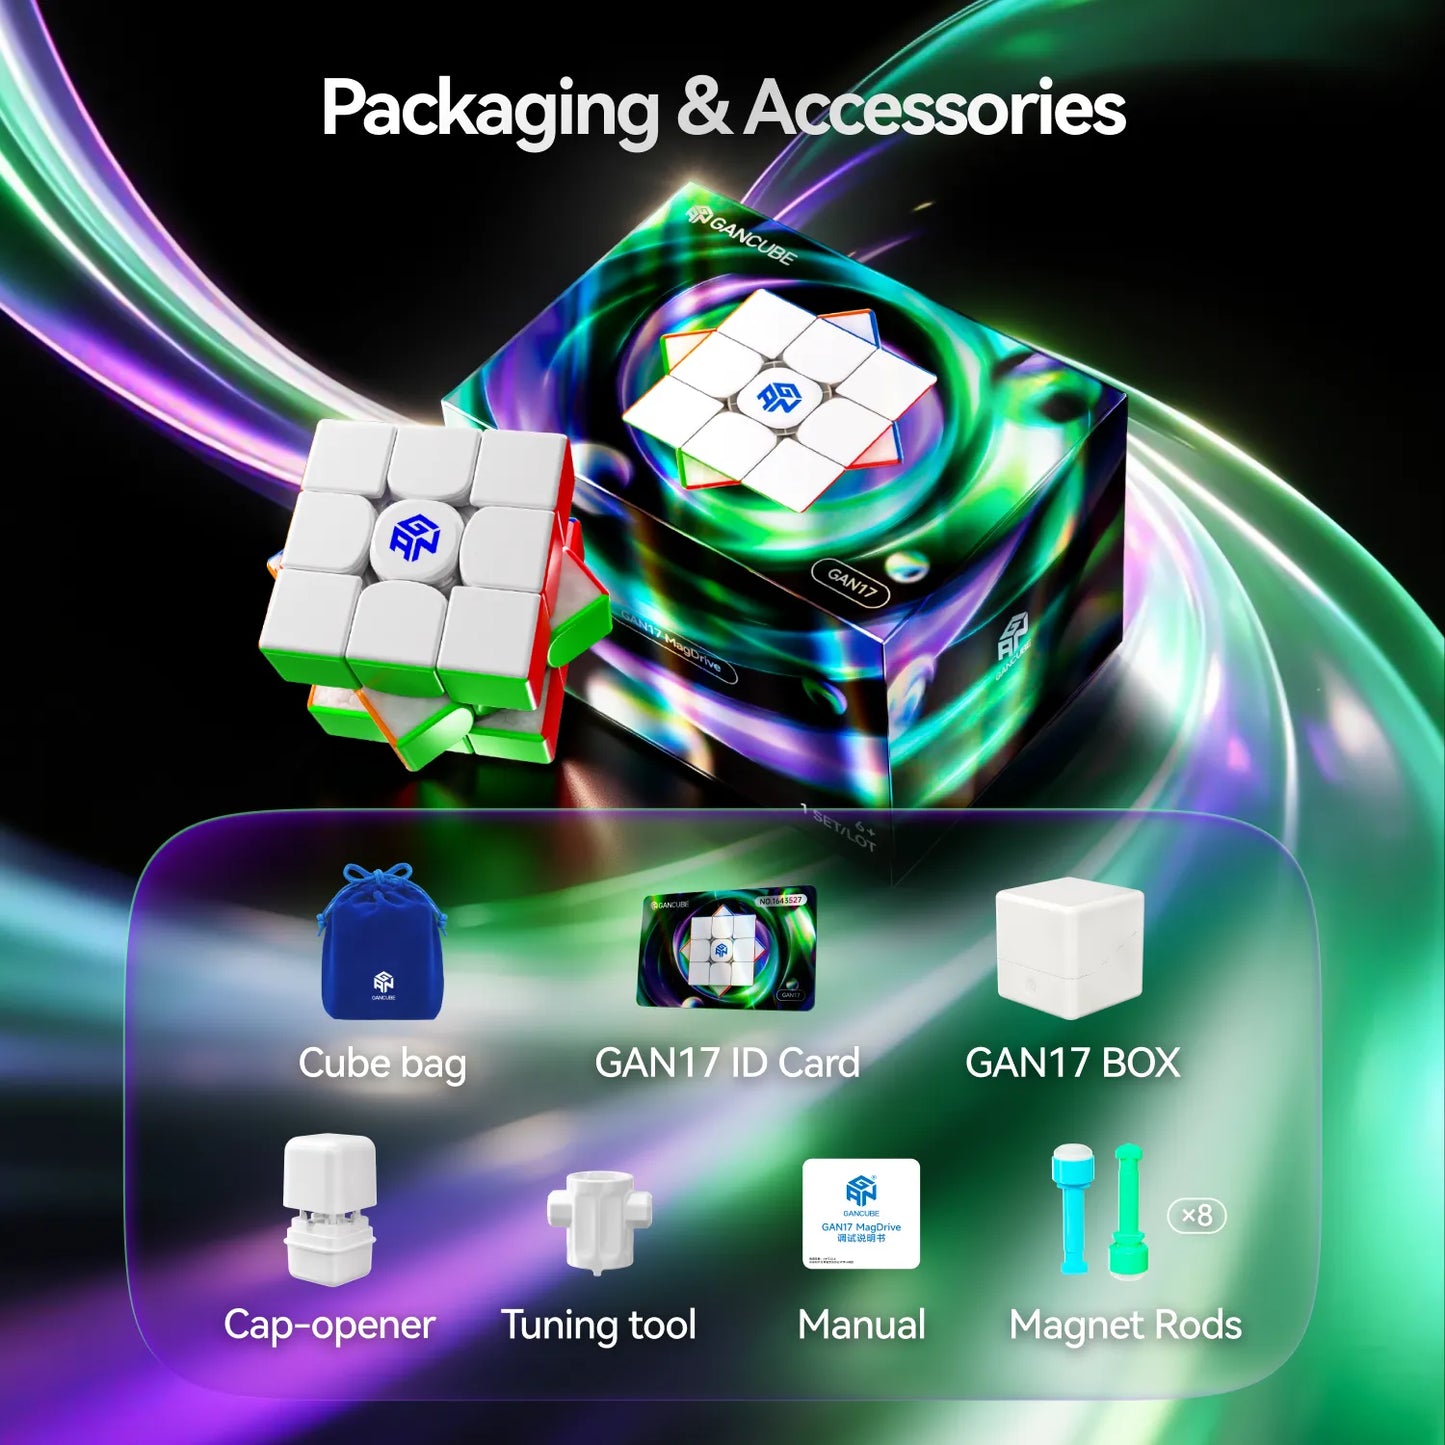
Yes. We include three sets of corner magnet rods so you can switch between weak, medium, and strong magnetic positioning.
Insert the new magnet rod, use the adjustment tool to turn it by 60° until it locks into place, and make sure you feel a tactile damping feedback to confirm successful installation.
You can refer to the instruction manual for the graphic guide, or watch the video tutorial here: https://cdn.shopify.com/videos/c/o/v/fb30a64b39634bd480db6591a5c538f7.mp4